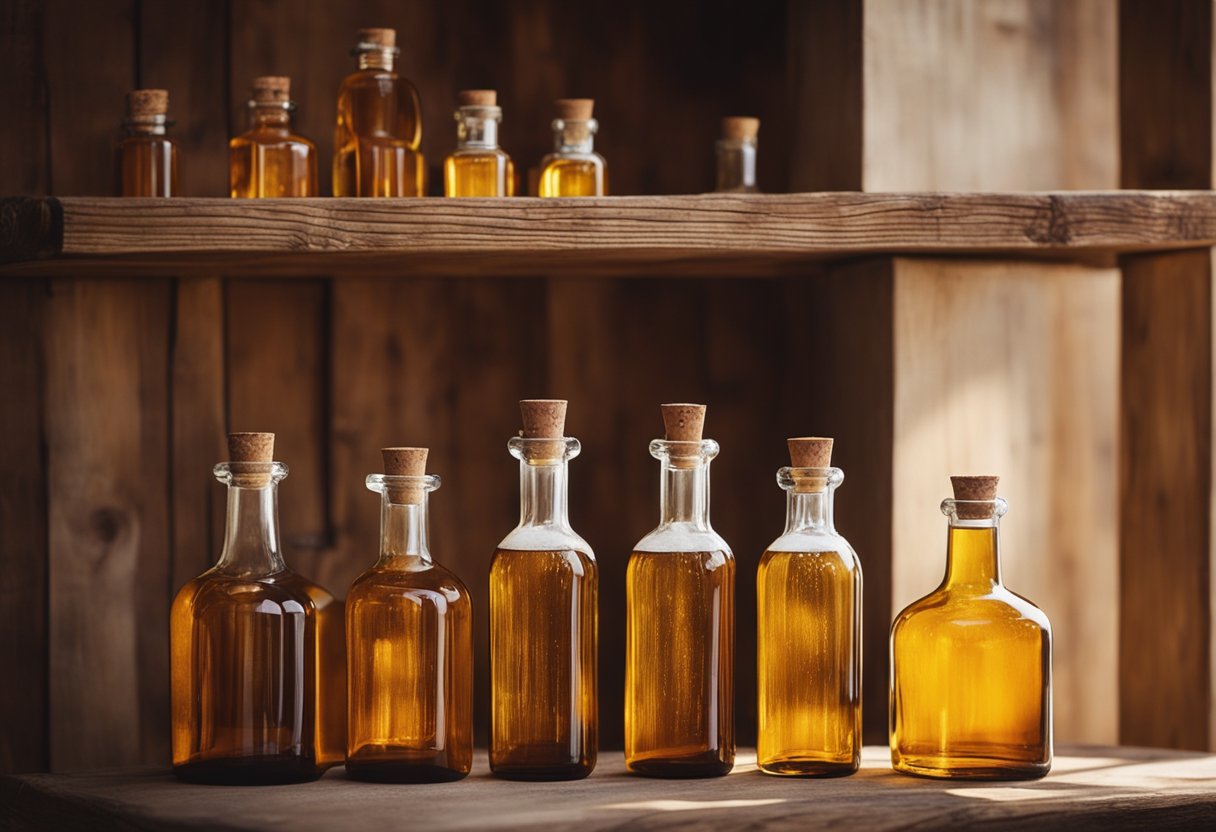


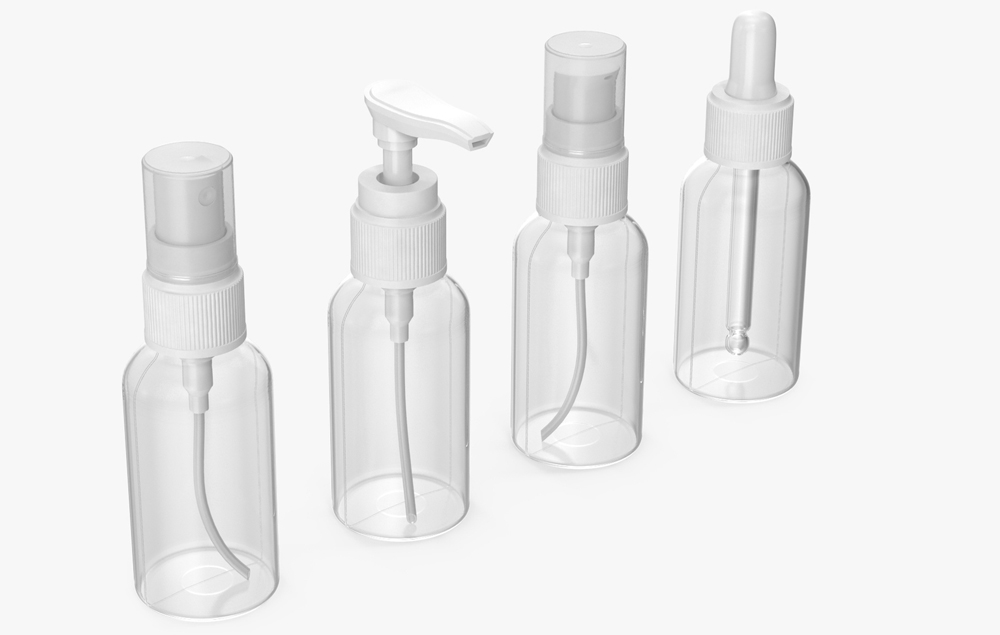
When you’re making a 1 Oz Frosted Glass Boston Round Bottle your glasses will be one of your most important tools. Not only are they essential for serving drinks to customers, but they also help set the tone and style of your establishment. While you probably won’t have time to make all new custom glasses when you launch your bar—even if you want to! You can still create custom looks on these cheap standard-sized Boston round bottles at home pretty easily. Here’s how: In order to achieve this look, you will need:
Mix up some painter’s tape
Painter’s tape is a great way to create the edges for your stencil—and it’s cheap, easy to find, and easy to use! The trickiest part might be finding the right color. Most cheap brands come in only one color which is sort of a dull white/off-white, which might make it hard to see what you’re painting. You do have some options here, though. You can try to find a specialty brand that has more colors to choose from, or you can buy a higher-end brand that’s a little pricier but might come in more colors. Just make sure it’s the right kind of tape for stenciling.
Create a stencil with the tape
First, set up your glass bottles upside down on a table. You’ll be painting the labels onto their bottoms, so you want them to be on a flat surface. With painter’s tape, you can easily create any shape or size stencil you might want. When you’re ready to start your stencil, just put a piece of the tape down on your bottle, keeping the sticky side up. Then, put the stencil down on the table and carefully pull the painter’s tape away from the bottle. It’s not a bad idea to practice this a few times with a scrap piece of paper first, just to get the feel for it. Once your stencil is in place, you can start painting!
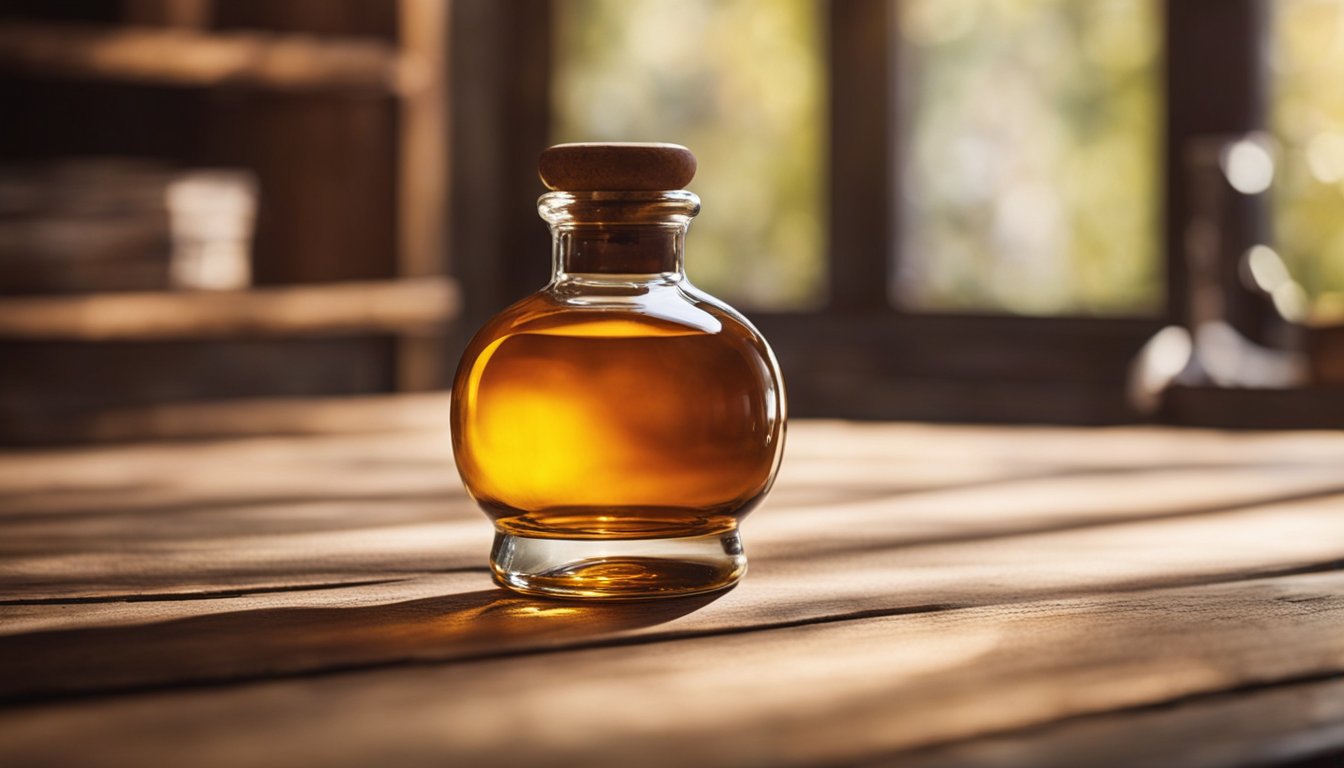
Pour the paint:1 Oz Frosted Glass Boston Round Bottle
You can paint the edges of your bottles with any paint you’d like! It’s a great chance to get creative and use some bold colors. Just make sure you use paint meant for use on glass, or you could risk damaging your bottles. Pour the paint into a small dish, and use a paintbrush to paint along the edge of your stencil. You’ll need to go back and forth between sides a few times to get a nice, even coat. Don’t worry if your paintbrush leaves brush marks—you can clean this up later with sandpaper.
Set up a drying rack
While your paint is drying, you’ll want to set up a drying rack for your finished bottles. You can make a rack using coat hangers or even just a paper towel holder. Just make sure all the bottles are separated because you don’t want them touching and getting their edges mixed up. You’ll want to set it up out of the way, like on a table in a garage or in a corner of the kitchen.
Seal in the paint job
Once the paint is dry, it’s time to seal the paint job. This will help protect the labels from wear and tear and also keep them from fading. You can use a clear sealer or even just paint the edges of your bottles a second time to further protect them. First, clean off your bottles with a paper towel to remove any excess paint or dust. Then, use a paintbrush to paint the edge of the bottle, using a clear sealer. Let the sealer dry, and you’ll be all set!
Try out your new labels!
Once the paint has finished drying and the sealer is dry, you can uncoil the labels and put them right on their bottoms. Make sure each label goes on the correct bottle, or you might have a bit of a mishap. You can use any type of label, but you might want to make sure they’re designed to go on glass. Now you’re ready to pour your own drinks at home or place a special order at the bar. No matter what you order, make sure you have the right glasses. Your drink will taste better in the right glass, and it will look better, too!