


If you’re a fan of homemade jams, jellies, and preserves, then you know that presentation is key. One way to elevate the look of your homemade concoctions is by storing them in glass jam jars. Not only do these jars look beautiful, but they also offer several practical benefits.

For starters, glass jam jars are airtight, which means they can help preserve your homemade jams and jellies for longer periods. They are also non-reactive, which means they won’t interact with the acids in your jams and alter their flavor. Glass jam jars are also reusable, making them a more sustainable option compared to plastic containers.
When it comes to choosing the right glass jam jars, there are several factors to consider. Size, shape, and lid type are all important factors to take into account. Additionally, some glass jam jars come with decorative embellishments, such as embossed designs or colored lids. Ultimately, the choice of glass jam jar will depend on your personal preferences and the type of jam or jelly you plan to store.
History of Glass Jam Jars

You may be surprised to learn that glass jam jars have been around for over a century. The first patent for a glass jar with a screw-on lid was filed by John Landis Mason in 1858. This revolutionary design made it possible to create an airtight seal, which extended the shelf life of food and made it easier to transport.
Before the invention of glass jam jars, people used earthenware, pottery, and metal containers to store food. However, these containers had several drawbacks. They were heavy, breakable, and often allowed air and moisture to seep in, which spoiled the food. Glass jam jars solved these problems and quickly became a popular choice for preserving fruits, vegetables, and jams.
Over time, glass jam jars have evolved in design and functionality. In the early 1900s, an improvement in lid sealing streamlined the canning process, making these glass jars a household staple. In the 1990s, the launch of Martha Stewart’s line of home goods sparked renewed interest in glass jam jars, which are now used for a variety of purposes beyond just canning and preserving.
Today, glass jam jars come in a variety of shapes and sizes, from small single-serving jars to large gallon-sized containers. They are often used for DIY projects such as candle-making, as well as for storing pantry staples like flour, sugar, and spices. With their timeless design and versatility, glass jam jars continue to be a beloved household item.
Types of Glass Jam Jars

If you are looking to make homemade preserves, then you need to consider the type of glass jam jar you will use. There are two main types of glass jam jars: clear glass jars and colored glass jars. Each type has its own advantages and disadvantages.
Clear Glass Jars
Clear glass jars are the most common type of glass jam jars. They are transparent, which means you can easily see the contents of the jar. This is useful if you want to showcase the color and texture of your preserves. Clear glass jars are also easy to label, which makes them a popular choice for commercial products.
One disadvantage of clear glass jars is that they do not provide any protection against light. If your preserves are exposed to sunlight, they may become discolored and lose their flavor. To prevent this, you can store your clear glass jars in a dark place or wrap them in paper.
Colored Glass Jars
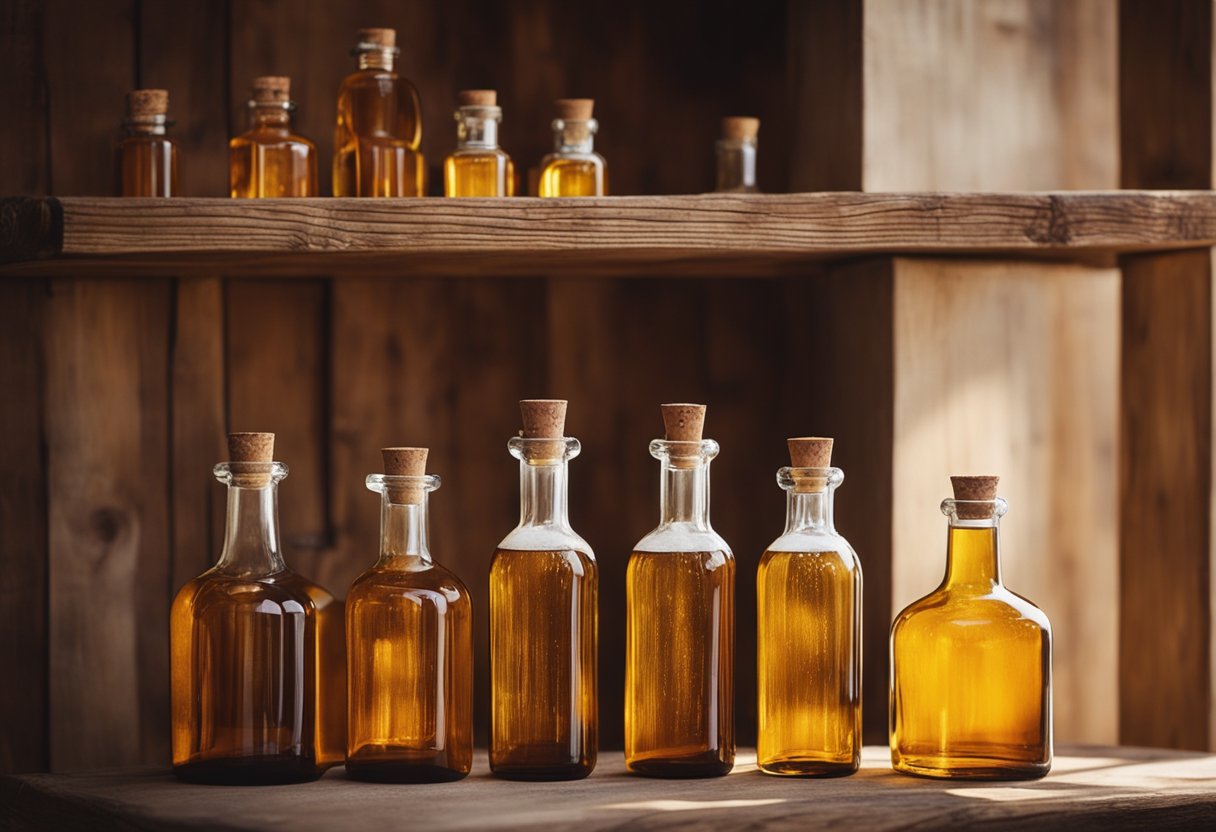
Colored glass jars are another option for storing your homemade preserves. They come in a variety of colors, including green, blue, and amber. The main advantage of colored glass jars is that they provide protection against light. This means that your preserves will stay fresh and flavorful for longer.
Colored glass jars also have a unique aesthetic appeal. They can add a pop of color to your kitchen or pantry. However, they can be more difficult to label than clear glass jars. The color of the glass may make it harder to read the label, especially if the font is small.
In summary, when choosing a glass jam jar, you need to consider the advantages and disadvantages of each type. Clear glass jars are great for showcasing the contents of the jar and are easy to label. Colored glass jars provide protection against light and have a unique aesthetic appeal. Choose the type of glass jam jar that best suits your needs and preferences.
Manufacturing Process

If you have ever wondered how glass jam jars are made, you are in the right place. In this section, we will take you through the three main stages of the manufacturing process: Raw Material Selection, Melting and Molding, and Quality Control.
Raw Material Selection
The first step in making glass jam jars is selecting the raw materials. Glass is made from a combination of silica sand, soda ash, limestone, and other additives. These materials are carefully selected and weighed to ensure consistency in the final product.
Melting and Molding
Once the raw materials have been selected, they are melted in a furnace at temperatures of up to 1700°C. The molten glass is then transferred to a molding machine where it is shaped into the desired form. There are two main techniques used in molding glass jam jars: blow-and-blow molding and press-and-blow molding.
In blow-and-blow molding, the molten glass is blown into a mold to create the jar’s shape. The mold is then cooled, and the jar is removed. In press-and-blow molding, the molten glass is pressed into a mold to create a preform. The preform is then blown into the final shape of the jar.
Quality Control
The final stage of the manufacturing process is quality control. Each jar is inspected to ensure that it meets the required standards for size, shape, and clarity. Any jars that do not meet the standards are removed from the production line.
The manufacturing process for glass jam jars involves selecting the raw materials, melting and molding the glass, and ensuring quality control. The process requires precision and attention to detail to ensure that the final product meets the required standards.
Labeling and Branding
When it comes to glass jam jars, labeling and branding are crucial for making your product stand out on the shelves. Having a well-designed label can attract customers and increase sales. Here are some tips on how to effectively label and brand your glass jam jars:
Label Design
Your label design should be eye-catching and informative. It should clearly display the name of the product, the ingredients, and any necessary warnings or nutritional information. Consider using bold and contrasting colors to make your label stand out. You can also use different fonts and sizes to emphasize important information.
Label Material
The material you choose for your label is also important. It should be durable and able to withstand the conditions of shipping and storage. Consider using a waterproof and oil-resistant material to prevent the label from smudging or peeling off. You can also use a clear label to showcase the product inside the jar.
Branding
Branding is more than just a logo or a name. It’s about creating a unique identity for your product that sets it apart from the competition. Consider the following when developing your brand:
- Mission statement: What is the purpose of your product? What values does it represent?
- Target audience: Who is your ideal customer? What are their needs and preferences?
- Unique selling proposition: What makes your product different from others on the market?
By considering these factors, you can create a brand that resonates with your target audience and helps your product stand out on the shelves.
Labeling and branding are essential for making your glass jam jars stand out on the shelves. By following these tips, you can create a label and brand that effectively communicates the value of your product and attracts customers.
Sustainability and Recycling
Glass jam jars are a sustainable choice for food storage, as they are reusable and recyclable. When you use glass jars to store food, you reduce the amount of plastic waste in the environment. Glass is also non-toxic and does not contain harmful chemicals that can leach into your food.
When it comes to recycling glass jam jars, it’s important to follow the guidelines set by your local recycling program. While glass is 100% recyclable, not all types of glass can be recycled. For example, Pyrex, ceramics, and window glass cannot be recycled with regular glass bottles and jars.
To prepare your glass jars for recycling, make sure to remove any labels or foil that may be attached to the jar. While some recyclers may ask you to separate the metal caps, others may allow you to leave them on. Make sure to check with your local recycling program for specific instructions.
It’s also important to note that broken glass should not be placed in your recycling bin. Broken glass can cause safety hazards for recycling workers and can contaminate other recyclables. Instead, dispose of broken glass in a separate container and label it as “broken glass” to prevent accidents.
By choosing to reuse and recycle glass jam jars, you are making a positive impact on the environment and reducing waste.
Usage and Preservation Tips
When it comes to using and preserving your homemade jams, there are a few tips to keep in mind to ensure the best quality and longevity of your product.
1. Choosing the Right Jar
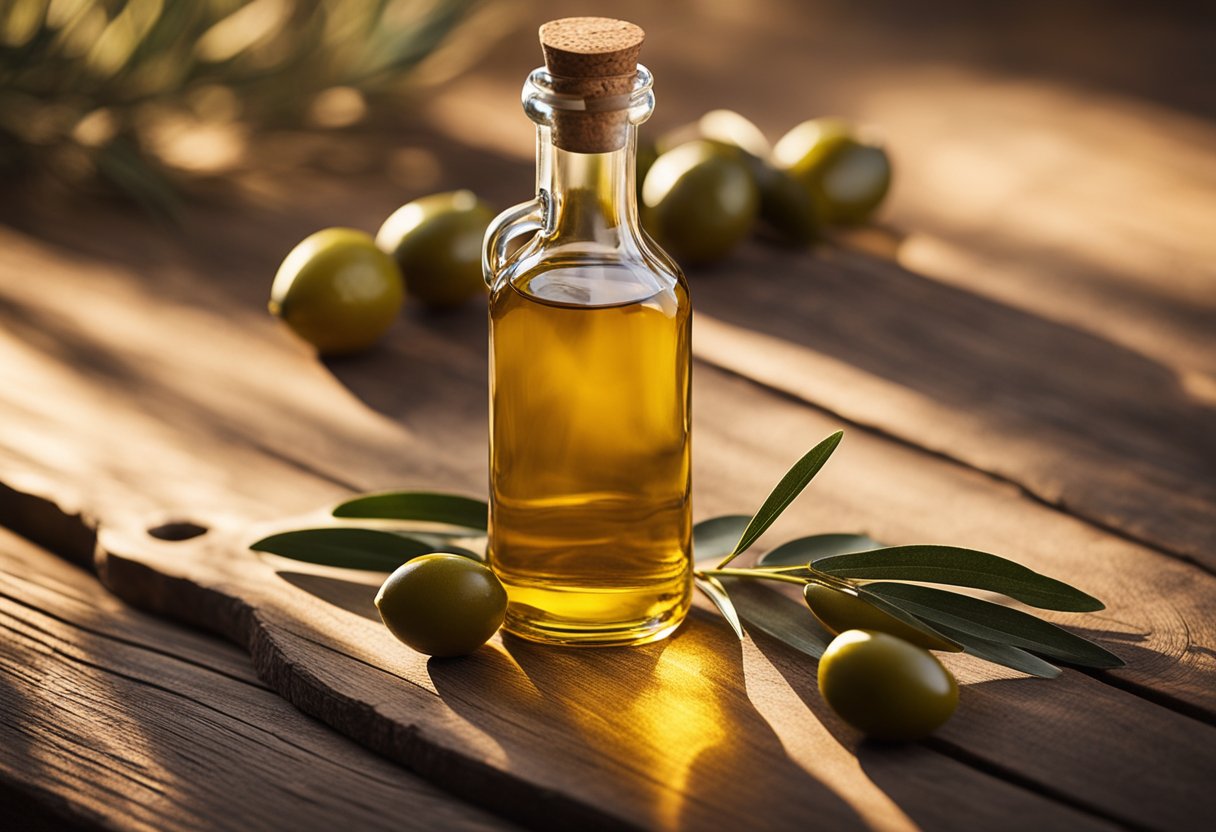
Choosing the right jar is crucial for the preservation of your jam. Glass jam jars are the best option as they are non-reactive, meaning they won’t interact with the acidic nature of the jam and alter its flavor. Opt for a size that matches the quantity you typically make. The 190ml panelled food jar or 1lb jam jars are excellent choices for standard preserve quantities. While round jars are traditional, square or hexagonal jars can save space and offer a contemporary aesthetic.
2. Sterilizing Jars
Before filling your jars with jam, it is essential to sterilize them to prevent contamination and increase their shelf life. You can sterilize your jars by boiling them in water for at least 10 minutes or by placing them in an oven at 120°C for 20 minutes. Make sure to sanitize the lids as well.
3. Filling the Jars
When filling your jars, leave a 1/4 inch gap at the top (called “head space”) to allow for expansion. Wipe the rims of the jars with a clean damp cloth to ensure a tight seal. Center the lids on the jars, and screw them on “fingertip tight” to prevent air from entering the jar.
4. Storing the Jars
Store your jam in a cool, dry place away from direct sunlight. Glass jars are an excellent choice for jam storage as they provide excellent visibility, allowing you to see the vibrant colors of your homemade jam. Make sure to label your jars with the date and flavor to keep track of their shelf life. Once opened, store the jam in the refrigerator and consume it within a month.
By following these tips, you can ensure that your homemade jam stays fresh and delicious for a long time.