


As crafters, it’s always exciting to discover new and unusual craft ideas. With so many different crafts out there, there’s always something new to try. And when you combine two or more different crafts into one project, the results can be even more fascinating. That’s what happened with this glass bottle flower vase craft; by combining aspects of glassblowing and floral arranging, you get something unique. It’s a very easy project that doesn’t take much time or skill. It just needs some preparation beforehand, some special tools and materials, and then you can get started right away. So, are you ready to learn how to make a glass bottle flower vase? Let’s begin!
What You’ll Need
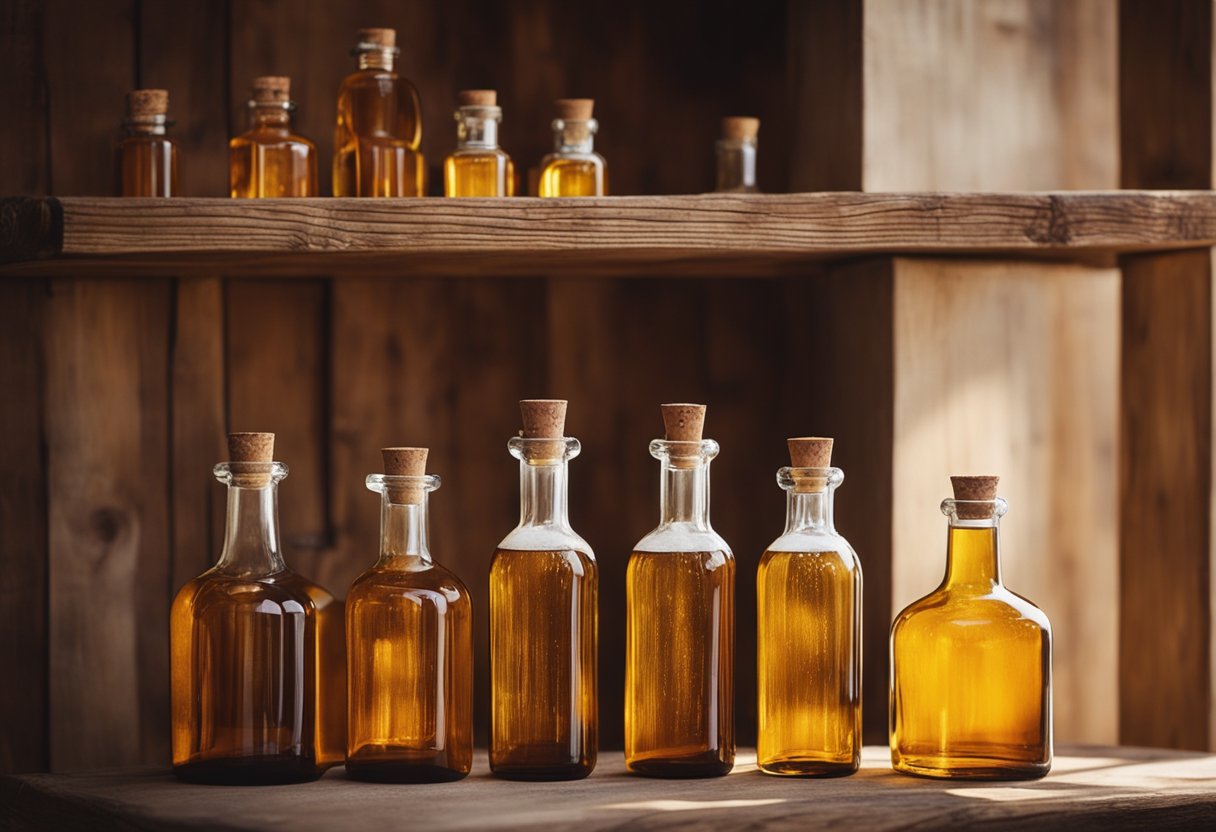
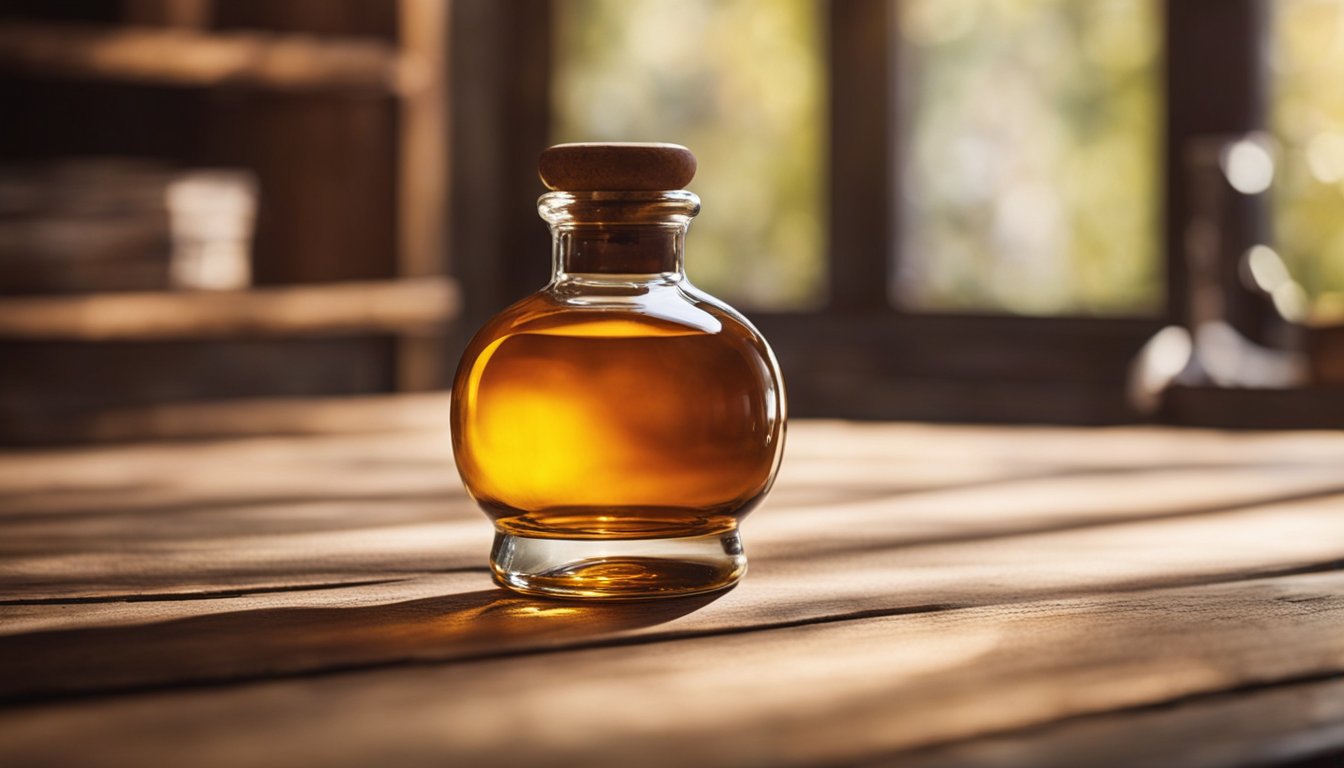
– A decorative bottle – The bottle you use to make this vase will depend on what you already have. You can use any decorative bottle from home that has a large opening at the top (that can be cut open). This could be a bottle of wine, perfume, a cleaning liquid, etc. You could also use a bottle for a special liquid, like a liqueur. This will make the vase more special. In addition, remember to clean the bottle before you begin the project. – A pair of pliers, scissors, a baking pad, and a brush – Are the basic materials you will need. You can use any pliers and scissors you have. The baking pad, on the other hand, can be used to prevent the vase from cracking due to uneven heating. – A piece of sponge, modeling clay, or modeling wax – You will use these materials to create a plug or stopper for the bottle opening. The plug should be a little bit smaller than the opening of the bottle. You can also use modeling clay or modeling wax to make the plug. If you use the sponge, make sure to dry it well before using it. – A sealant – While there are many types of sealants that are suitable for different materials, for this project, marine sealants like the Interlux Inter-temp anti-fouling paint work well. This sealant allows water to pass through the bottle easily but also prevents other elements from entering the bottle.
Major Types of Glass Used to Make Bottles
– Flint glass – Flint glass is a greenish-clear glass that is difficult to melt. It is used to make bottles with a wide mouth. – Lead crystal – Lead crystal is a type of lead glass that is used to make cutlery, tableware, and other fine products. It is also used to make decorative bottles. – Soft-glass bottles – These are usually used to make wine bottles. – Soda-lime glass – Soda-lime glass is an economical glass used for containers for food like bottles for ketchup, mustard, beer, and soft drinks.
Raw Materials and Their Preparation
– Copper wire – You will use copper wire to make the central core of the vase. Cut a copper wire into approximately 10-inch pieces. – Charcoal – You need to prepare charcoal while the bottle is being heated. You can use any old charcoal briquettes to make the carbon used in this project. – Wax – You will use wax to seal the bottle opening once the vase is ready. You can use any wax suitable for this purpose, like candle wax or modeling wax.
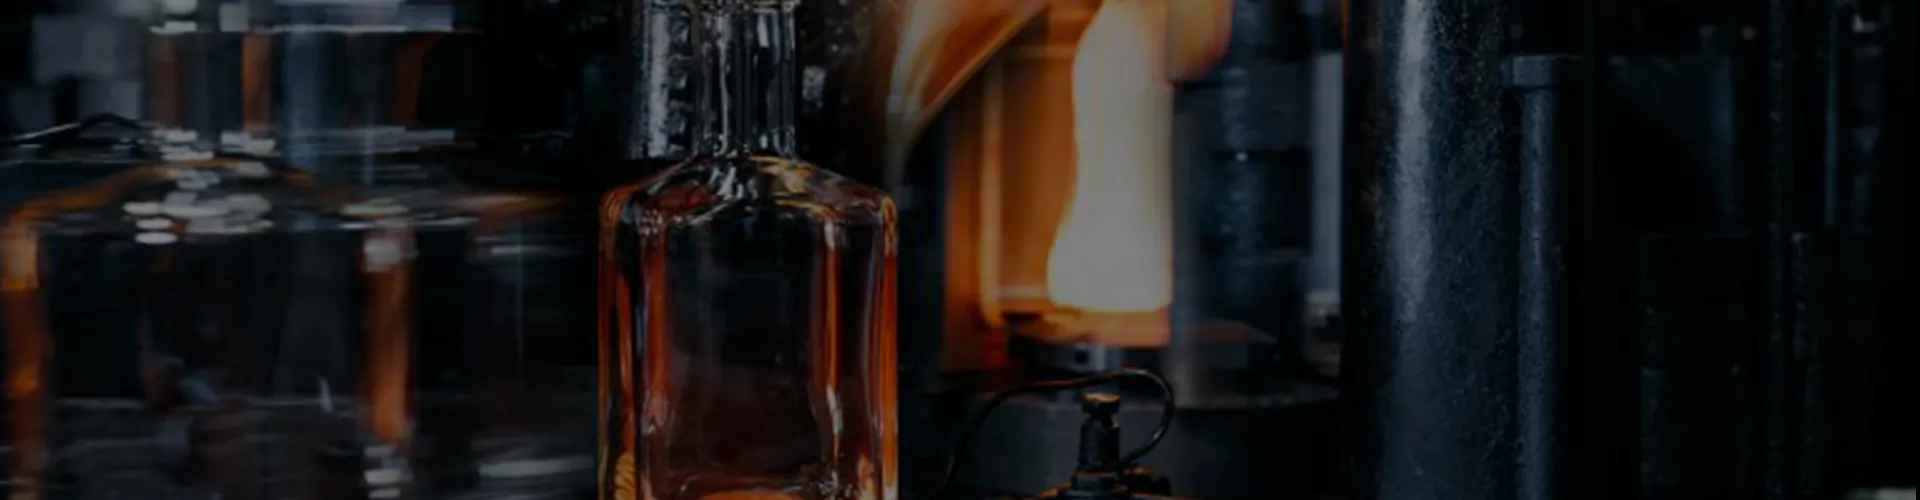
Glass Making Process
– Prepare the bottle – Place the bottle horizontally on a table or another appropriate surface to make it easier to handle. You can also wrap the bottle in a cloth or put it in a basket to support it to keep it from falling. Use the pliers to remove any caps or stoppers from the bottle. If there are any labels on the bottle, you can use a solvent to remove them. – Prepare the central core – Place the copper wires horizontally on a worktable. Then, use the pliers to twist the ends of the wires together. Make sure the twisted section is about three inches long. Now, bend the twisted ends of the wires so that they are about ¼ inch apart. Make sure the ends are bent in opposite directions. – Add the charcoal – Place the twisted ends of the wires on a non-flammable surface. Then, put some charcoal on top of the twisted ends of the wires. Make sure the charcoal is about 2 inches wide and ¾ inches thick. Use a brush or your fingers to make sure the charcoal is in an even layer. – Put the base on the bottle – Put the bottle horizontally on a table and put the base on top of the bottle. Make sure that the bottle opening is in line with the opening on the base. – Heat the bottle – Heat up the bottle with a heat gun or a torch. The heat should be applied to the bottle for 2 to 3 minutes until the bottle turns red. Be careful not to overheat the bottle as this can cause it to crack.
Step 1: Find the Right Bottle
– Decide on the type of bottle – The first thing you need to do is decide on the type of bottle you want to use. You can use any decorative bottle from home that has a large opening at the top (that can be cut open). This could be a bottle of wine, perfume, a cleaning liquid, etc. You could also use a bottle for a special liquid, like a liqueur. This will make the vase more special. In addition, remember to clean the bottle before you begin the project. – Measure the bottle – Make a mark on the bottle’s mouth where you want to cut it open. Make sure the mark is at least an inch away from the bottle“s base. – Decide on the size of the vase – If you want to make a small vase, use a small bottle. If you want a big one, use a large bottle. – Cut the mouth of the bottle – Use the scissors to cut the mouth of the bottle at your mark. Make sure to cut on a tabletop or cutting board so that the cut edges don“t cut your fingers.
Step 2: Heat The Bottle
– Place the bottle on a heatproof surface – Place the bottle on a heatproof surface. This can be a table, cutting board, or a baking pad covered with aluminum foil or a cloth. – Apply heat to the bottle – Use a heat gun or a torch to apply heat to the bottle. You will want to heat up the bottle until it“s red hot, but not so hot that it starts to glow or smoke. – Wait for the bottle to cool down – Wait for the bottle to cool down. It“s best to wait for at least half an hour.
Step 3: Shaping the Vase
– Wait until the bottle has completely cooled down – This will prevent you from burning your fingers. It“s best to wait for at least a day. – Wrap the bottle in a towel – Wrap the bottle in a towel to protect your hands when you hold it. – Press the bottle between your palms – Press the bottle between your palms. Be careful not to press too hard so that you don“t crack the bottle. – Shape the bottle using the pliers – Once the bottle has cooled down and is malleable enough, use the pliers to shape it. – Heat the bottle again – If the bottle is not the shape you want it to be, heat it up again.
Step 4: Adding Color
– Use colored glass paints to color the bottle – You can use colored glass paints to color the bottle. Make sure to use glass paints that won“t react with the glass of the bottle. – Use colored sealants to color the bottle – You can also use colored sealants to color the bottle. Choose a sealant that“s suitable for glass. – Use colored modeling clays to color the bottle – You can also use colored modeling clays to color the bottle. Make sure you choose modeling clays that are suitable for glass. – Use colored wax to color the bottle – You can also use colored wax to color the bottle. Choose colored wax that is suitable for glass.
Step 5: Decorating the Vase
– Add decorations like beads to the vase – You can add beads to the vase as decorations. – Add a floral arrangement to the vase –