-

Arabic
-
English
-
French
-
Malagasy
-
Portuguese
-
Russian
-
Spanish
-
Thai


News
Latest News
-
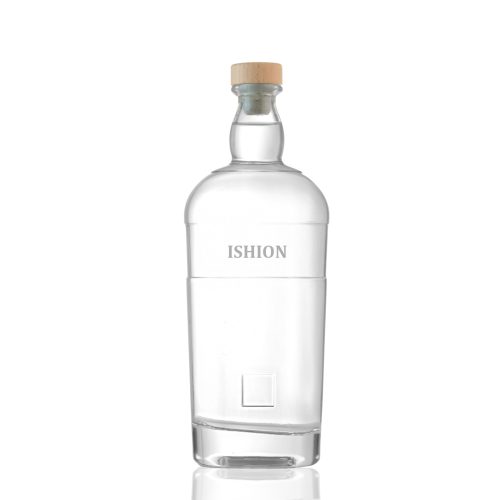
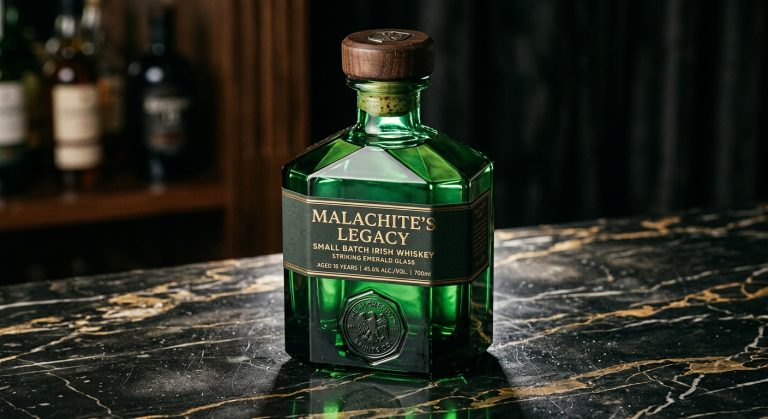
How a European Spirits Brand Developed a Signature Bottle from Scratch with Packafill
Read More -
Private Mold vs. Stock Mold Glass Bottles: Which One Is Right for Your Brand?
Read More -
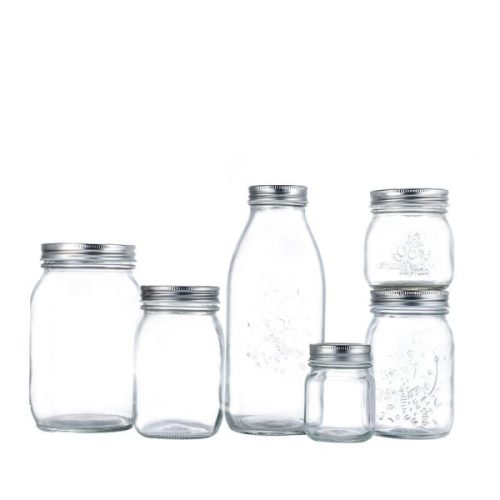
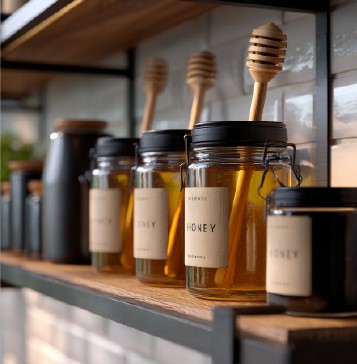
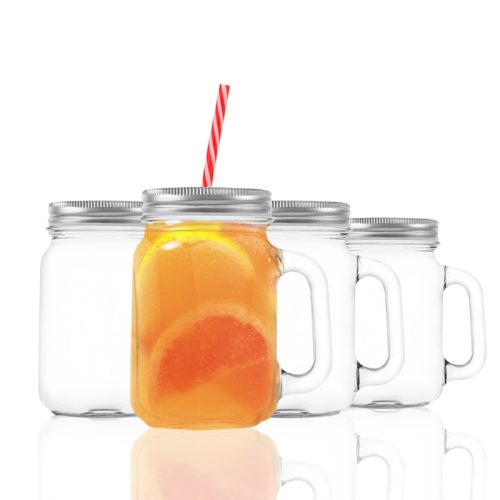
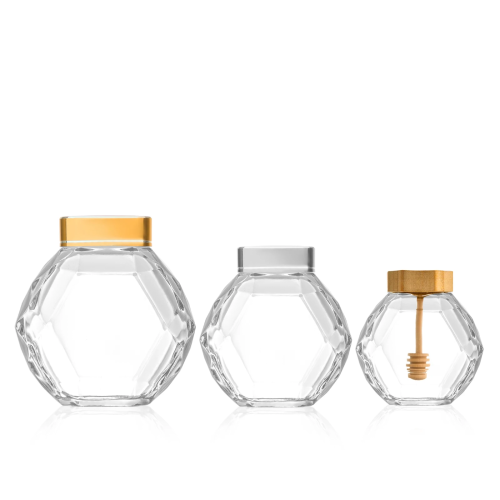
Mason Jar Sizes Guide: How to Choose the Right Capacity for Storage and Packaging
Read More -
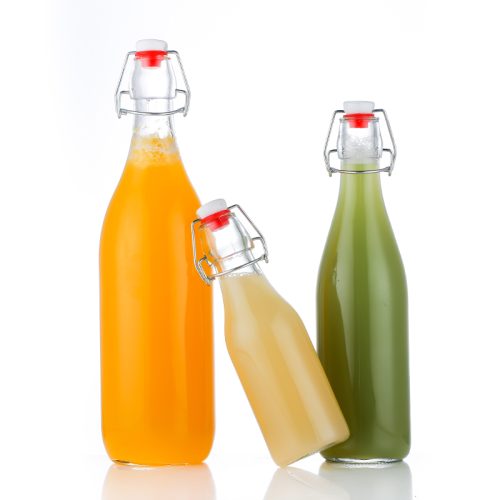
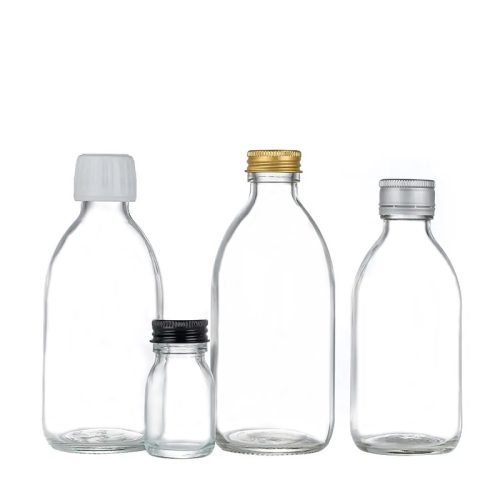
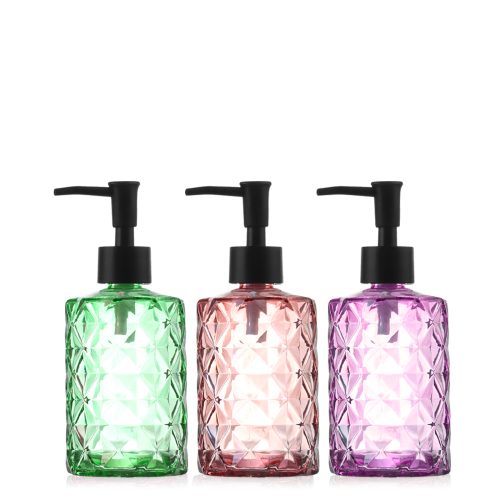
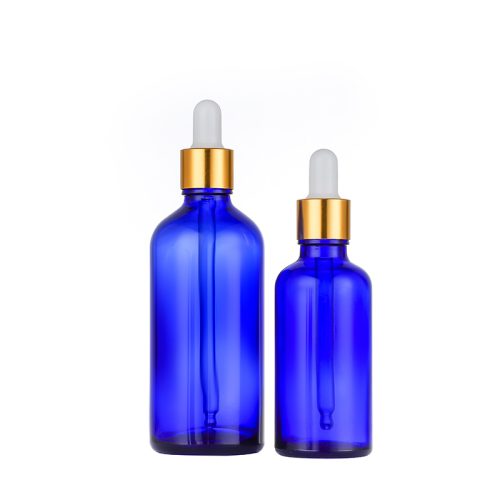
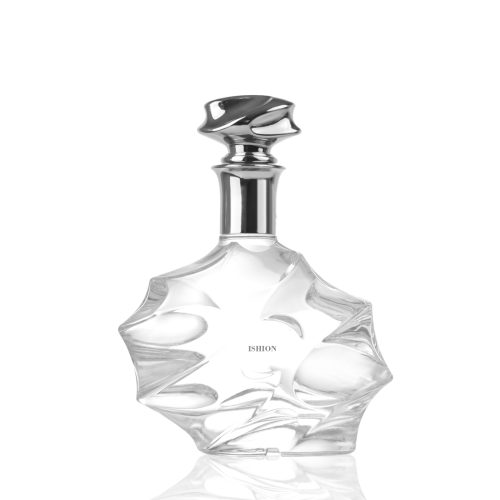
Types of Glass Bottles and How to Choose the Right One
Read More -
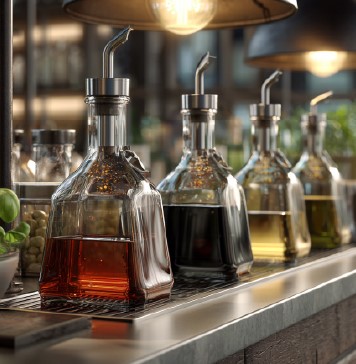
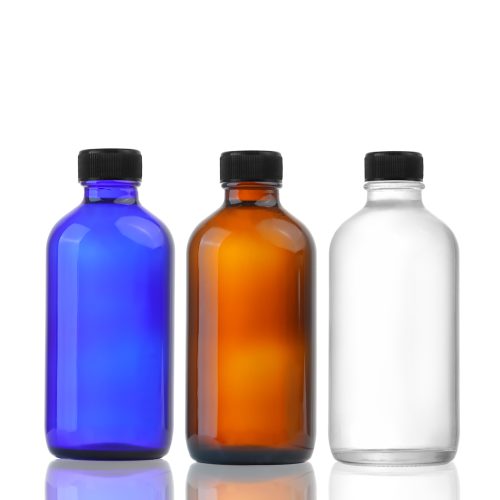
Glass in Packaging and How to Choose the Right Bottle
Read More -
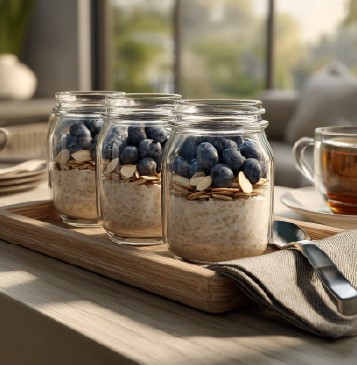
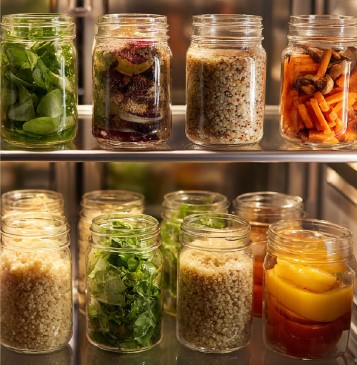
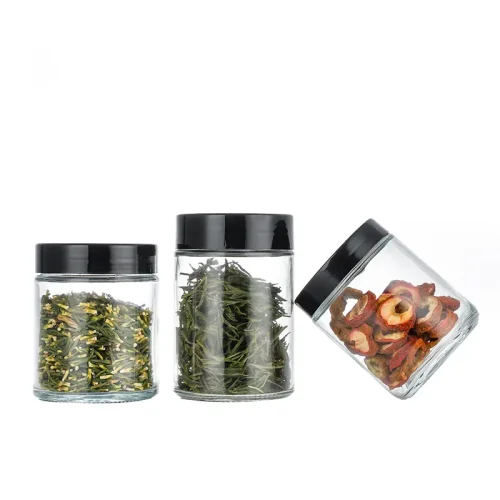
Food Storage Jars and Their Uses: Why Glass Jars Are the Best Choice
Read More -
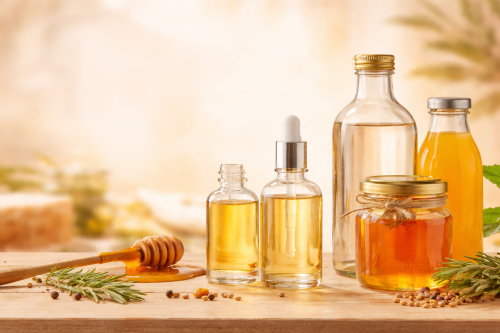
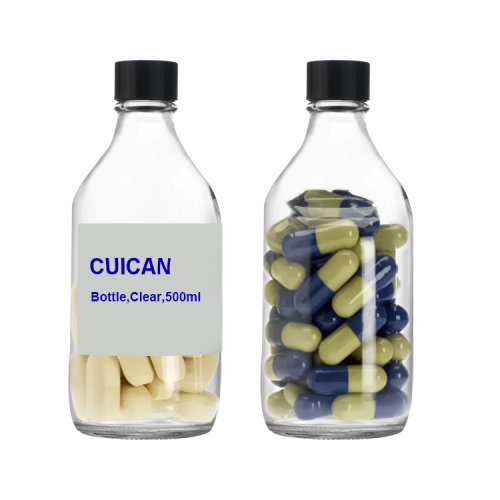
Everything You Need to Know About Medicine Glass Bottles
Read More -
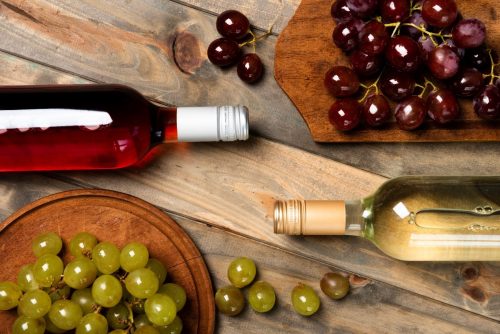
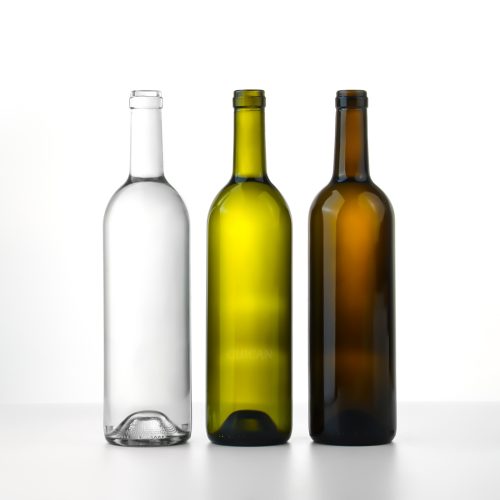
Wine Bottle Shapes and Their Uses: A Business-Focused Guide
Read More -
Things to Consider When Looking For Mason Jar Glass Manufacturers
Read More