-

Arabic
-
English
-
French
-
Malagasy
-
Portuguese
-
Russian
-
Spanish
-
Thai


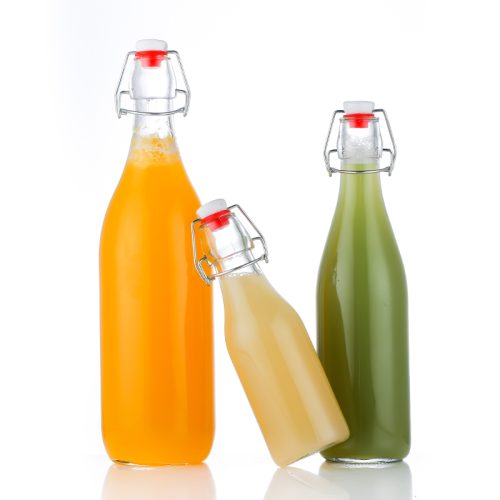


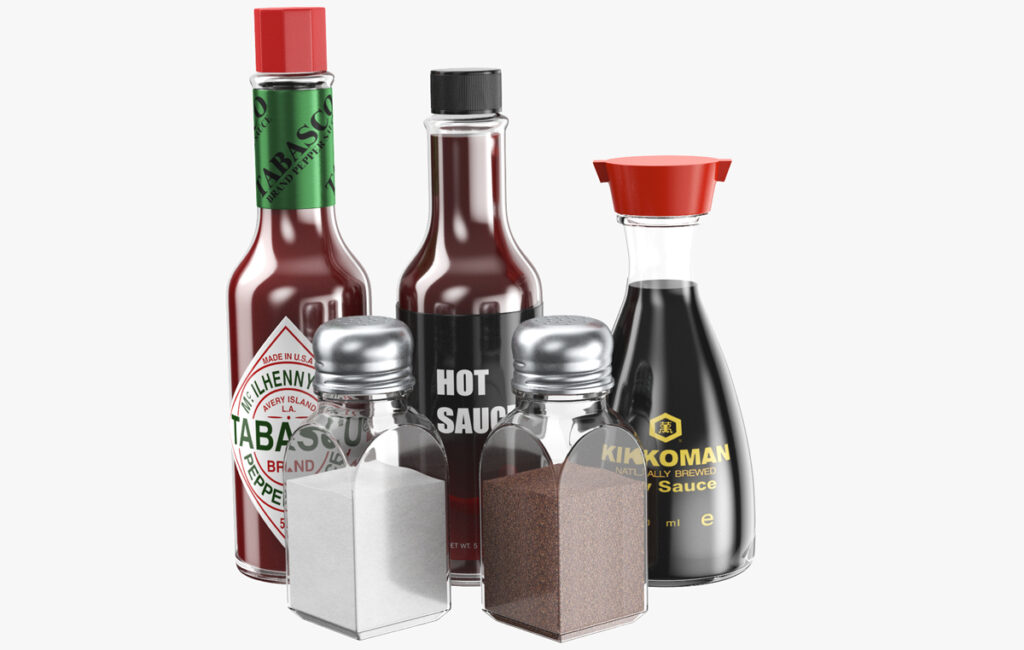
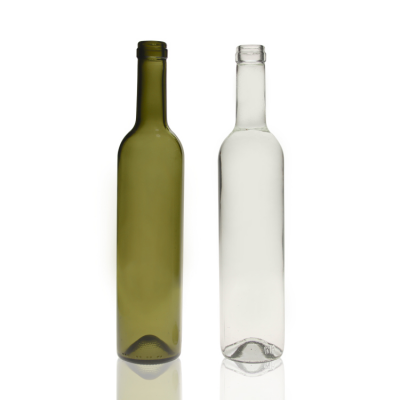
In the world of beverage packaging, glass bottles are among the most popular and versatile types of containers. These cylindrical glass containers can be made with varying heights and volumes to suit a variety of needs for particular products. Also, thanks to their neutral appearance, glass bottles can be customized with branding or labels in almost any style — from modern and minimalist to vintage and rustic — as well as left unadorned so they can be used for storage purposes too! To make sure that you have all the information you need before diving into a custom project, we’ve put together this article that covers everything you need to know about designing glass bottles. From general advice on what will work best in terms of size and volume for your products, to specific tips and tricks on how to tackle labeling, shrink-wrapping, and more… You’ll find everything you need here!
Table of contents packafill
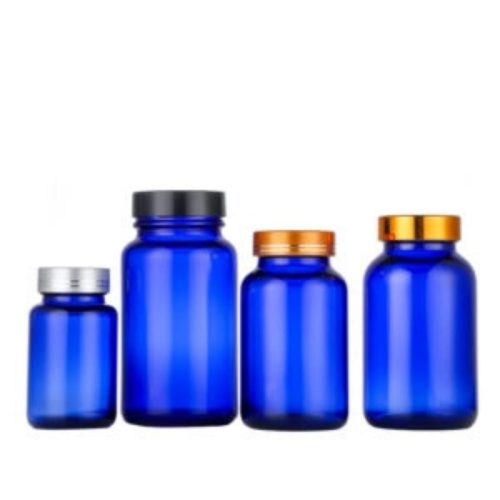
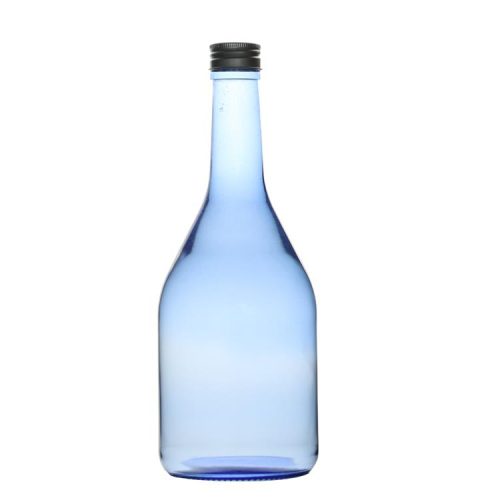
1 Choosing the Right Volume and Shape for Your Glass Bottles
1.1 Shrink-wrapping: The Key to Successful Customization
1.2 Label Layouts for Glass Bottles
2 Wrapping a Glass Bottle in Vinyl
3 Wrapping a Glass Bottle in Color Film
Choosing the Right Volume and Shape for Your Glass Bottles
Before you can begin designing your glass bottles, you first need to select the volume and shape that will work best for your products. There are a few factors to keep in mind when making this decision, including: the volume of the contents, the volume of the contents when filled to the top, the volume of the headspace (or the space between the contents and the top of the bottle), and the target price point for the product. The first two factors that you should keep in mind when considering these aspects of your glass bottles pertain to the amount of product that will be inside and at the top of the bottles. For example, if you are filling your glass bottles with ketchup, ketchup typically has a specific volume of 30 fl oz. When filled to the top, however, ketchup has a volume of 50 fl oz. This means that, if your glass bottles are 16 fl oz, there will be an excess of 34 fl oz that will need to be disposed of or repurposed after the ketchup is gone.
Shrink-wrapping: The Key to Successful Customization
Before you get too involved in designing your glass bottles, you’ll want to set up a wrap station — most likely a heat press — so that you can shrink-wrap the bottles for a clean and professional look. The exact process for wrapping your glass bottles will vary depending on the type of film you choose (more on that in a moment), but for the most part, you want to make sure that the film is clean and the bottle is clean before you begin. Some people like to use a light coating of spray oil to reduce the risk of the film sticking to the bottle. With your glass bottles shrink-wrapped, you can begin designing your labels, knowing that they will fit perfectly and stay in place!
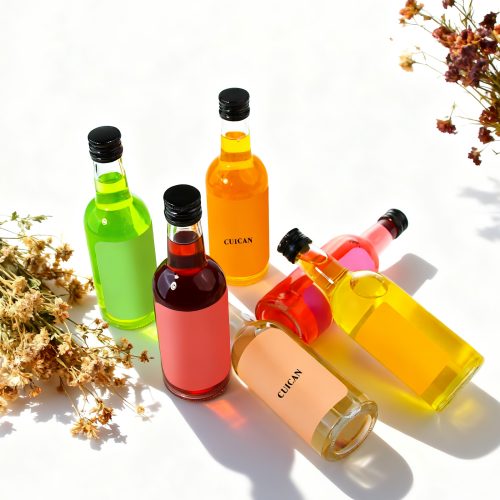
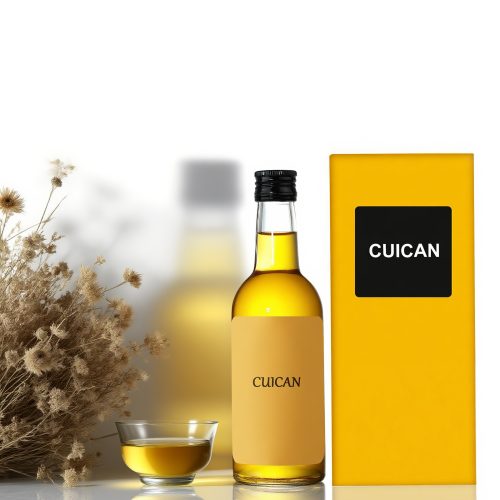
Label Layouts for Glass Bottles
As we’ve already noted, glass bottles are incredibly versatile in terms of the way they can be customized. That being said, certain label layouts work better on glass bottles than others. If you plan to use a wrap that completely covers the bottle — such as a vinyl or a color film — you will most likely want to go with a layout that includes a top label. This top label can include information such as the product name, flavor, ingredients, nutritional facts, and more. If you plan to use a wrap that only partially covers the bottle — such as shrink-wrap — you will have more flexibility in terms of the layout of your label. This is because you will be able to see the color of the bottle through the wrap and will be able to use that color to inform the rest of your design.
Wrapping a Glass Bottle in Vinyl
If you choose to use vinyl to wrap your glass bottles, you will need to add a transfer tape to the back of your design. This is because the backing of vinyl will not stick to glass. Once the transfer tape is in place, you will apply the vinyl to the bottle, remove the paper on the vinyl, and then use a heat press to apply the vinyl to the bottle. For best results, you will want to set your heat press to the proper heat and time settings for the specific vinyl that you are using. Once you have applied the vinyl to your glass bottle, you can use an iron to apply a small amount of pressure to the back of the vinyl to make sure that it is completely stuck to the bottle. This will help to prevent bubbles from forming under the vinyl.
Wrapping a Glass Bottle in Color Film
If you choose to wrap your Custom Glass Bottle in color film, there is no need for a transfer tape as the film will stick to the glass bottles on its own. This is because the film is made from a static-cling type of material. To apply the color film to your glass bottles, you will want to make sure that the surface of the bottle is clean and free of dust or oils. Next, peel the film from the liner and apply it to the bottle. Once the film is in place, you will want to slowly and carefully use a clean edge (such as the edge of a squeegee) to work out any bubbles that might be trapped under the film.
Conclusion
If you’re looking to break into the beverage packaging industry, glass bottles are an excellent place to start. These cylindrical containers can be made with varying heights and volumes to suit a variety of needs for particular products. To make sure that you have all the information you need before diving into a custom project, we’ve put together this article that covers everything you need to know about designing glass bottles. From general advice on what will work best in terms of size and volume for your products, to specific tips and tricks on how to tackle labeling, shrink-wrapping, and more… You’ll find everything you need here!