-

Arabic
-
English
-
French
-
Malagasy
-
Portuguese
-
Russian
-
Spanish
-
Thai


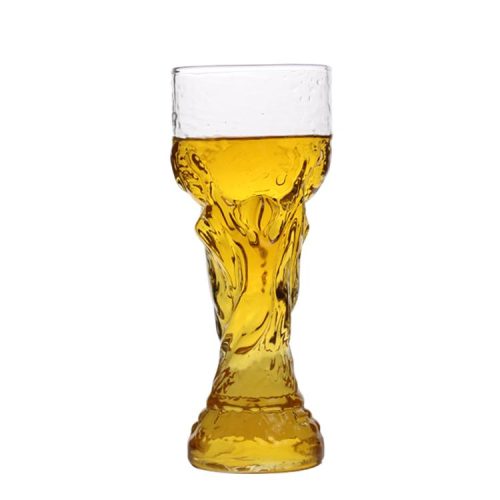
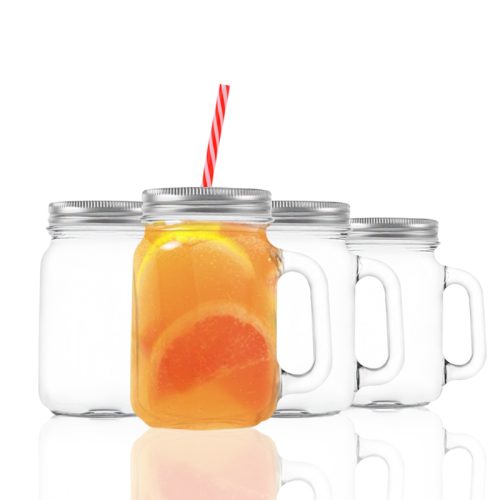
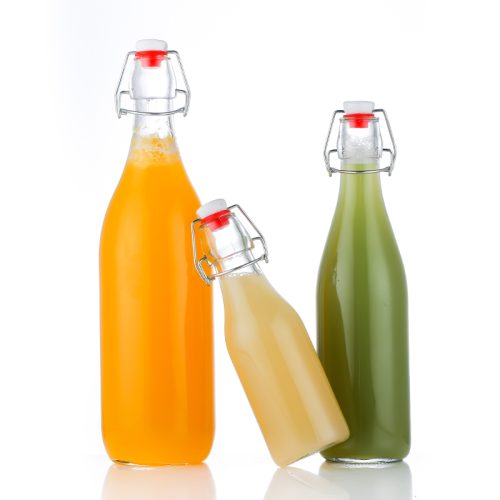
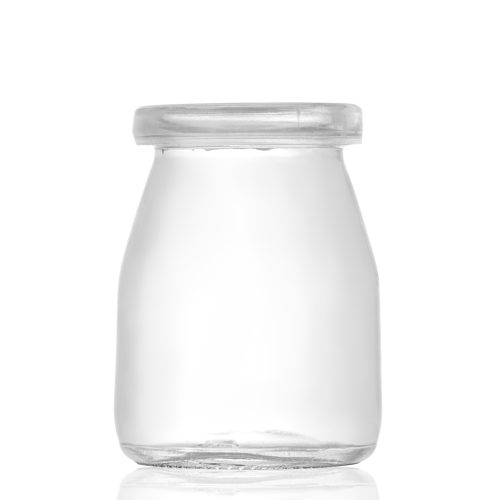
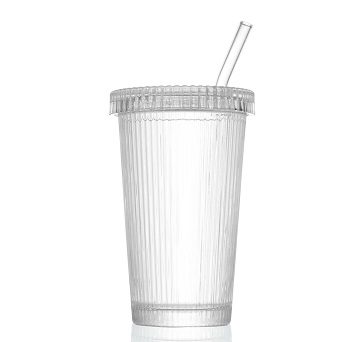
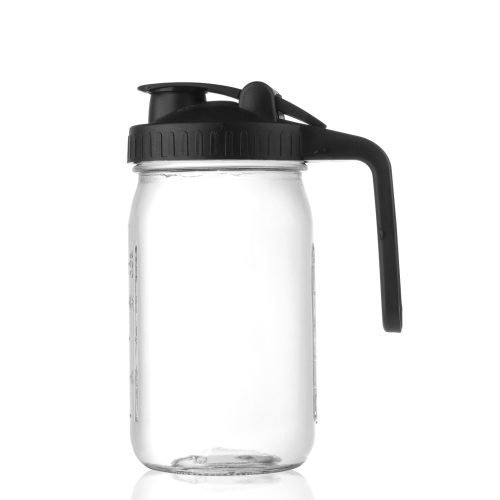


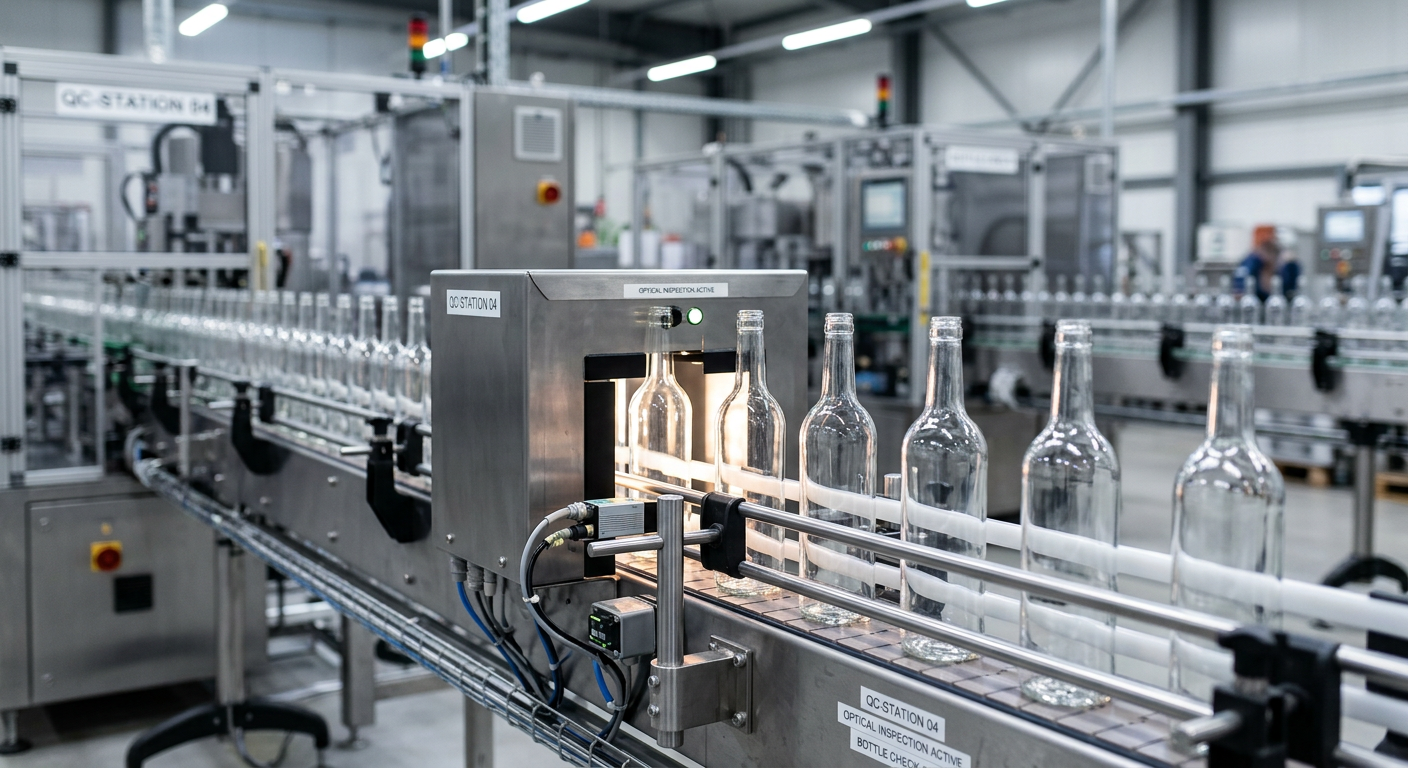
A solid glass bottle QC checklist covers four things: wall thickness and glass distribution, dimensional accuracy at the finish, surface and structural defects, and closure compatibility. Skip any one of these and you risk a container load that looks fine on arrival but fails during filling, capping, or on a store shelf months later. Most defects that sink a shipment aren't the obvious ones you'd spot in five seconds — they're the subtle ones that only show up under load, heat, or pressure.
Why Glass Bottle Defects Are So Easy to Miss
Here's an uncomfortable truth: a bottle can pass a visual check and still fail a week later. Glass defects often hide in the structure, not the surface. A bottle with uneven wall distribution might look perfectly round and clear, but one side could be 30% thinner than the other — invisible to the naked eye, but a guaranteed weak point under pressure or thermal shock.
This matters more for some products than others. A honey jar sitting at room temperature is fairly forgiving. A hot-fill sauce bottle or a carbonated beverage bottle is not. If you're sourcing food storage jars for ambient products, thickness variance is a lower-stakes issue. If you're filling hot liquids or pressurized beverages, it's the first thing your QC team should check.
The 80/20 rule of glass defects
In our experience, about 80% of returned or rejected glass bottle shipments trace back to just three defect categories: wall thickness inconsistency, finish dimension errors, and stress cracks. Focus your inspection budget there first.
Wall Thickness and Glass Distribution
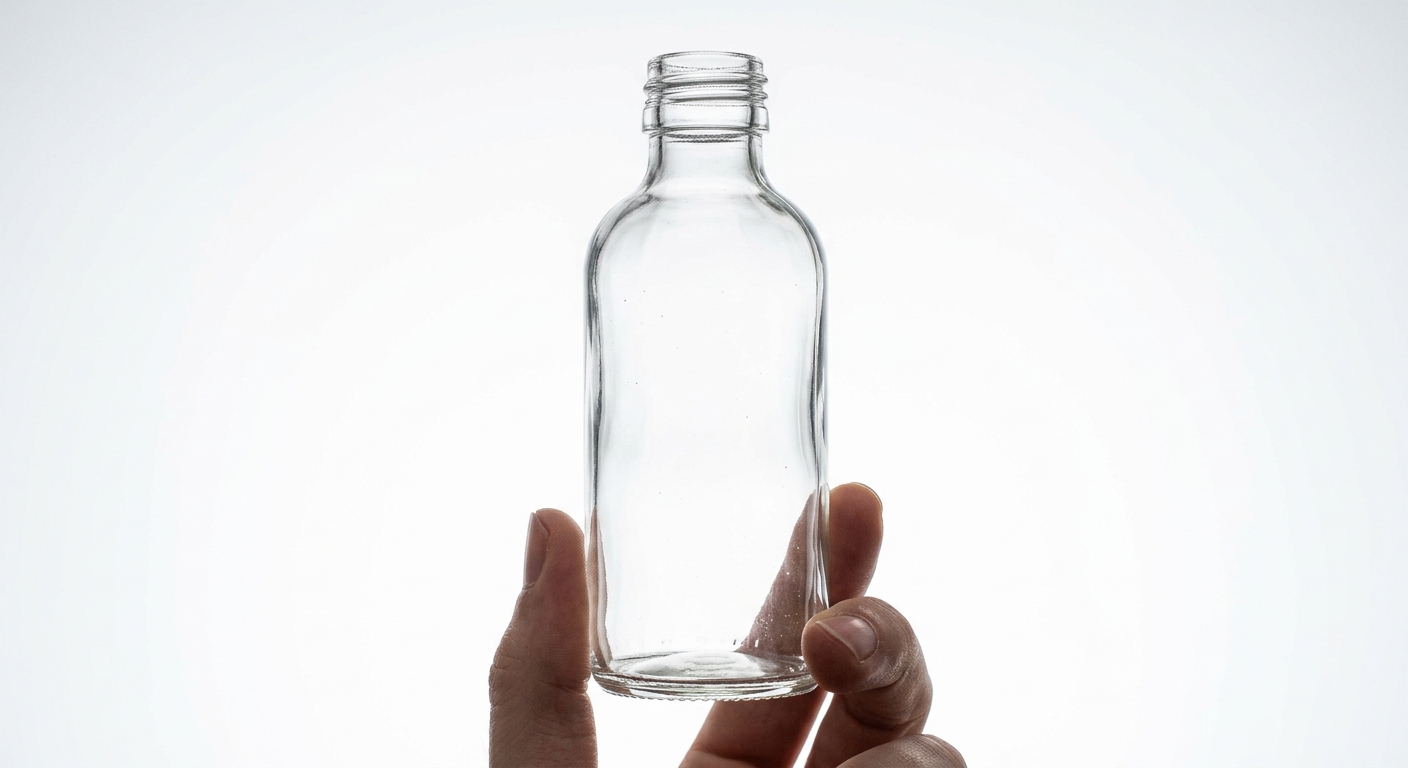
Uneven glass distribution is the single most expensive defect to discover late — because it's invisible until the bottle breaks in transit or during hot-filling. Standard tolerance for wall thickness in a molded glass bottle is typically ±0.3mm to ±0.5mm depending on bottle size, but distribution matters as much as the average.
What buyers should actually check:
- Request thickness measurements at 4-6 points around the bottle circumference, not just one reading.
- Ask for sectioned samples (bottles cut open) on new mold runs — reputable manufacturers will provide this without pushback.
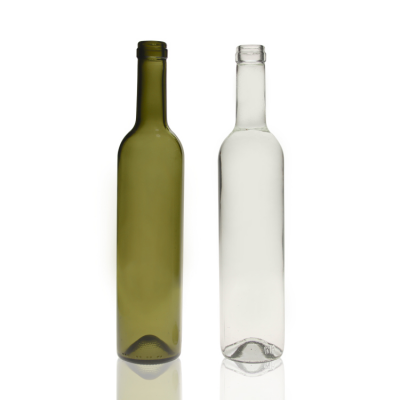
- For heavier bottles like 750ml wine bottles or spirits bottles, insist on base thickness checks since that's where impact stress concentrates.
A real example
A European spirits brand we worked with initially spec'd a bottle with an aggressive shoulder taper for shelf appeal. Early production samples showed thickness dropping to 1.8mm at the shoulder — too thin for the bottling line's capping pressure. Catching it in the sample stage, rather than after a full production run, saved the brand a costly remold. You can read more about how that signature bottle was developed from scratch.
Finish Dimensions: The Defect Buyers Overlook Most
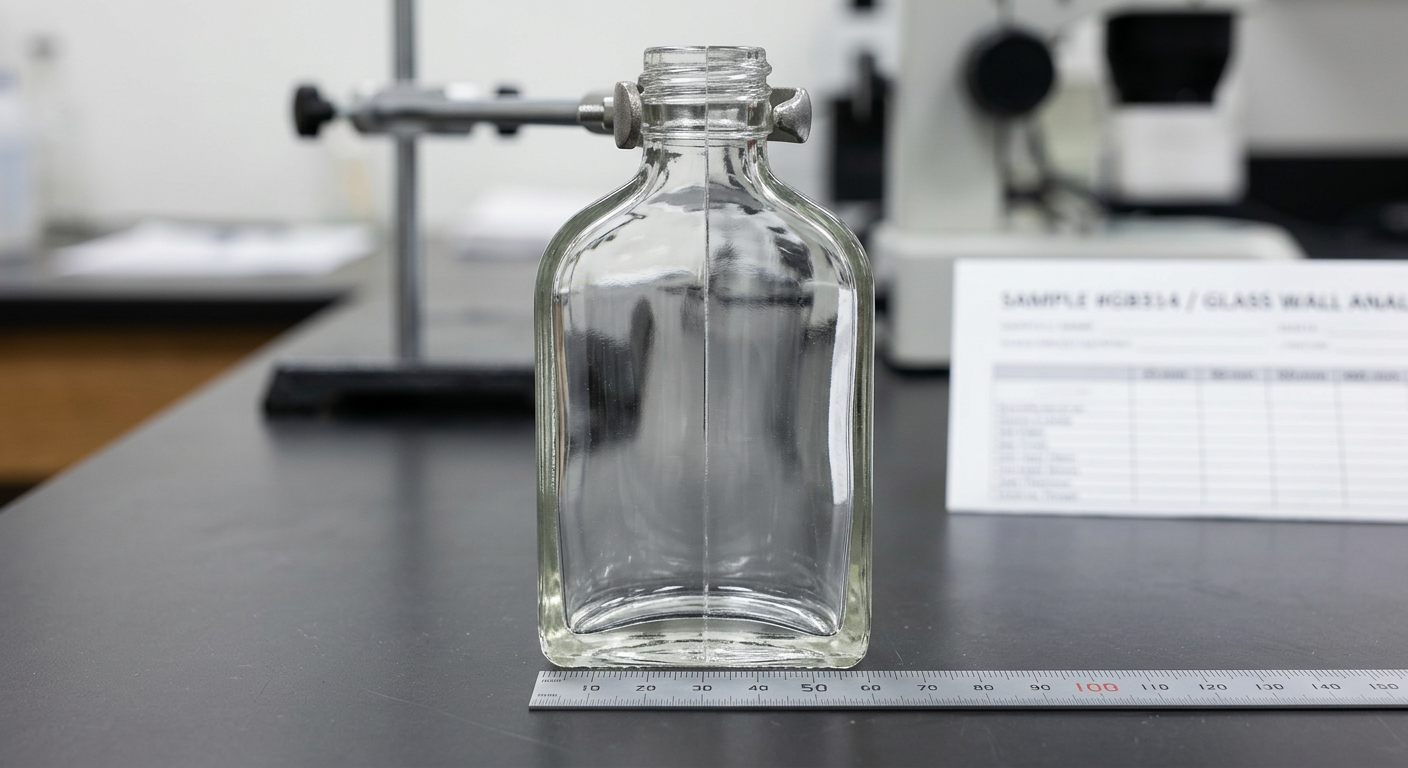
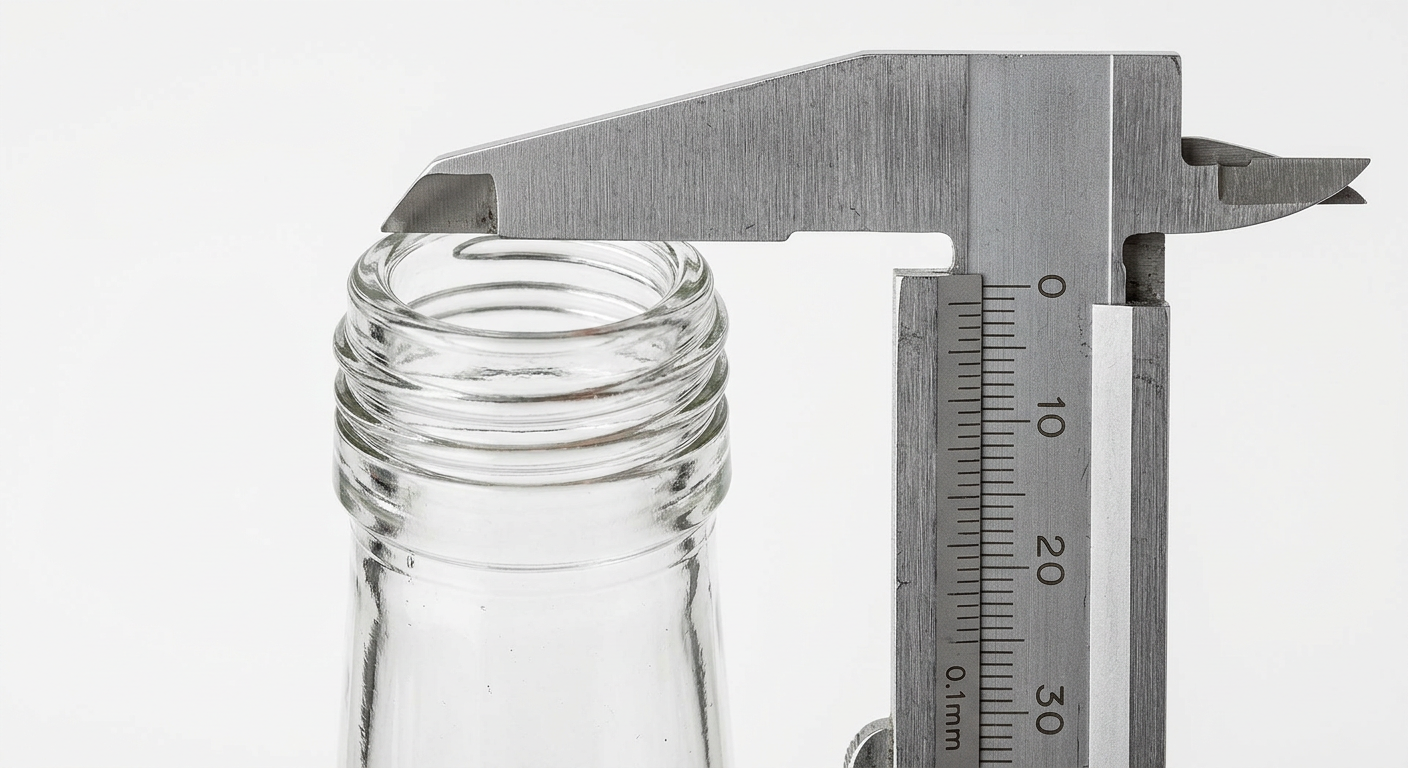
If your caps don't seal properly, the bottle isn't the problem — the finish is. The 'finish' is the threaded or lipped top of the bottle where the closure attaches, and even a 0.2mm variance here can cause leaking, cross-threading, or capping-line jams at scale.
Go/no-go gauges are the industry standard tool here — they check the inside and outside diameter of the finish against tolerance limits fast, without needing a full metrology setup. Any supplier who can't produce these gauges on request is a red flag.
Where this bites buyers hardest
Spray and pump-fitted bottles are the most finish-sensitive category. If you're sourcing 1 oz glass spray bottles or 2 oz glass spray bottles for perfume or personal care lines, a finish that's off by even a fraction of a millimeter means the spray pump won't seat — and you find out only after the pumps arrive from a separate supplier and don't fit.
Surface Defects: Bubbles, Blisters, and Bird Swings
Not all bubbles in glass are cosmetic issues — some are structural time bombs. A 'bird swing' (or glass string) is a thin filament of glass that stretches across the inside of a bottle, usually from contamination or temperature inconsistency during forming. It looks minor. It isn't — it can break off and contaminate the product, or create a fracture point.
What to check during inspection:
- Backlight every sample batch — surface bubbles and internal strings show up clearly against strong light.
- Reject visible seed bubbles larger than 1mm in the body wall, especially near stress points like the base or shoulder.
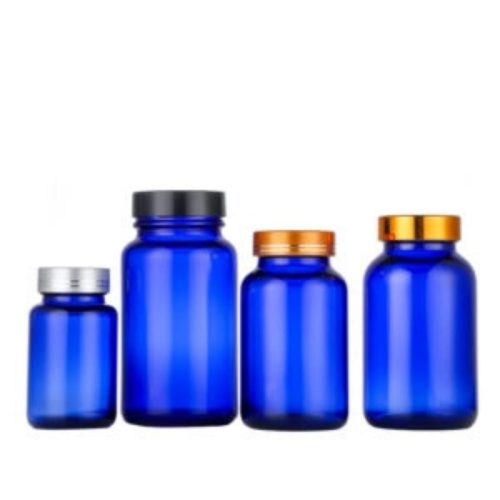
- For amber or colored glass, check color consistency batch-to-batch — inconsistent iron oxide dosing can cause visible striping, which matters a lot for brands using amber glass pill bottles where UV protection depends on consistent tint density.
Stress Cracks and Thermal Shock Resistance
Stress cracks are the defect most likely to cause a field failure months after shipment — not on arrival. They form during annealing (the controlled cooling process after molding) and often stay invisible until the bottle experiences a temperature swing, like hot-filling or a truck sitting in summer heat.
How manufacturers test for this
Polarized light inspection (sometimes called a polariscope check) reveals stress patterns invisible under normal light — trained inspectors look for colored stress rings around the base and shoulder. Buyers sourcing for hot-fill applications, like honey or sauce brands, should specifically request this test on sample batches, not just standard visual QC.
This is especially relevant for brands moving from plastic to glass for the first time. A honey brand switching packaging formats needs to know their new jars can handle hot-fill temperatures around 40-50°C without shattering — something a plastic squeeze bottle never had to worry about.

Closure Compatibility: The Defect That Isn't in the Glass
Sometimes the bottle is fine and the problem is that nobody tested the cap-to-bottle fit as an assembled unit. This is shockingly common — buyers order bottles from one supplier and closures from another, then discover a seal gap only after both arrive.
Before placing a bulk order, request a physical fit-test sample: bottle, cap, and any liner or gasket assembled together, then run a basic drop test and a 24-hour inversion leak test. This applies whether you're working with Boston round bottles for liquid products or dropper bottles for essential oils where a loose-fitting dropper cap means product loss and customer complaints.
Setting Up an Incoming Inspection Process
Most quality failures aren't manufacturing failures — they're inspection process failures on the buyer's side. If you're importing container-loads, use AQL (Acceptable Quality Limit) sampling rather than trying to inspect every unit, which is impractical at scale.
- AQL 2.5 for critical defects — things like cracks, sharp edges, or finish dimension failures that create safety risk.
- AQL 4.0 for major defects — visible bubbles, color inconsistency, minor dimensional variance.
- Third-party inspection before loading — for first orders with a new supplier, this is non-negotiable. It costs a few hundred dollars and can save an entire container's value.
For ongoing wholesale relationships, request a Certificate of Analysis or QC report per production batch rather than per shipment — this creates a traceable record if a defect surfaces later.
What This Looks Like in Practice
Consider a distributor importing glass beer bottles for a regional craft brewery client. Beer bottles face internal pressure from carbonation, so the QC checklist shifts weight toward wall thickness consistency and base thickness — a thin base is where pressure-related breakage almost always starts. The distributor's inspection protocol specifically flags any bottle under 3.0mm base thickness for rejection, even if every other measurement passes.
Compare that to a cosmetics brand sourcing cream jars: their priority list looks completely different, weighted toward finish tolerance (for pump and lid fit) and surface cosmetic quality, since carbonation pressure isn't a factor at all. The lesson: your QC checklist should be built around your actual filling and use conditions, not a generic template.