-

Arabic
-
English
-
French
-
Malagasy
-
Portuguese
-
Russian
-
Spanish
-
Thai


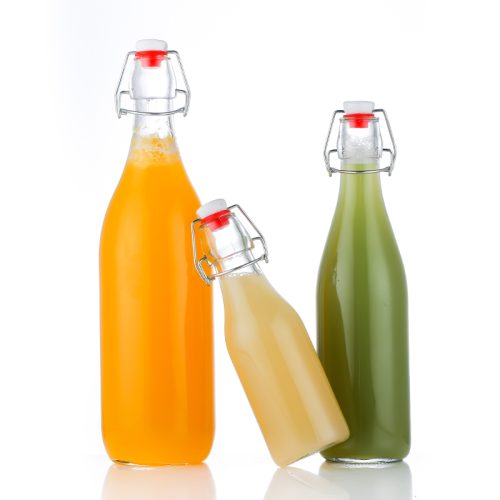


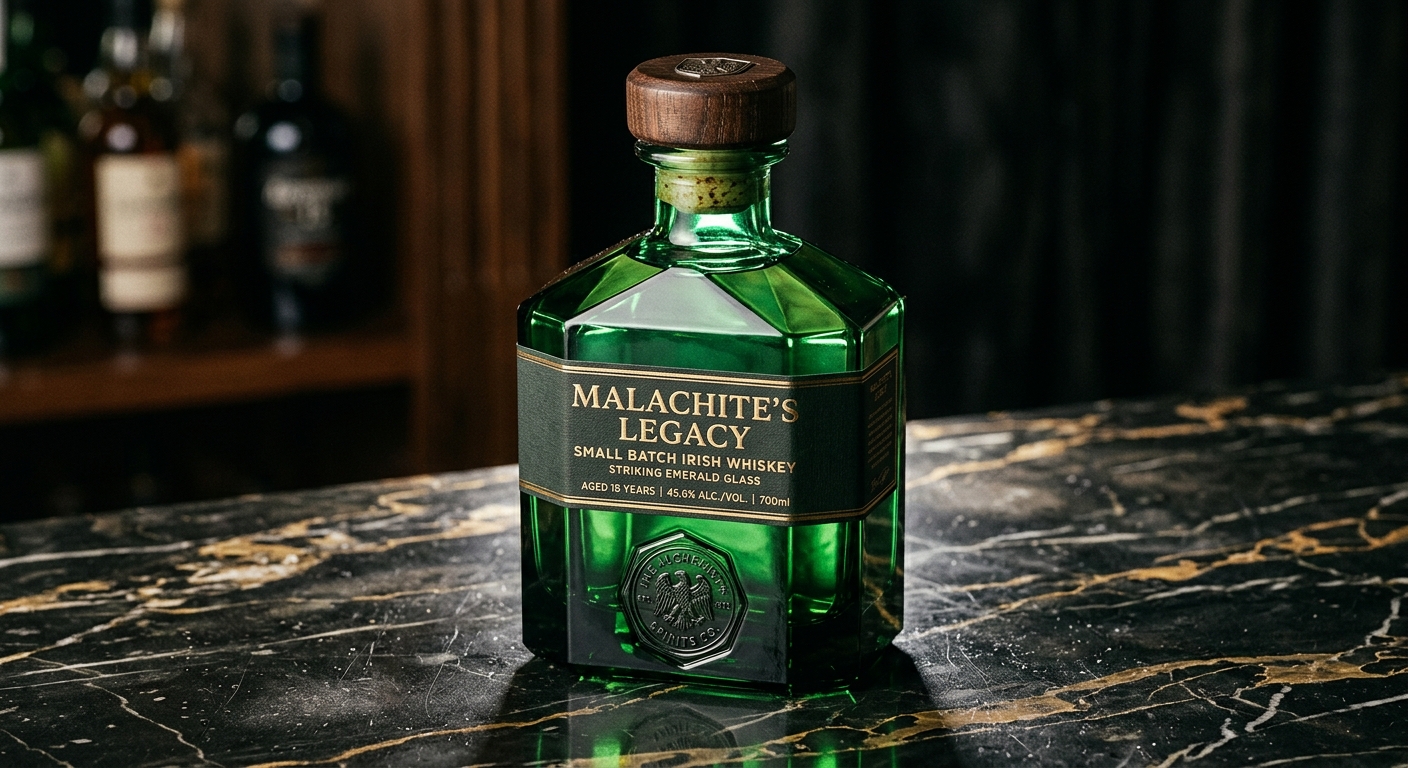
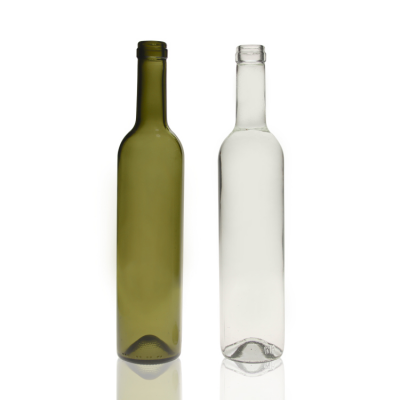
A mid-sized European spirits brand partnered with Packafill to design, prototype, and mass-produce a completely bespoke 700 ml bottle — from a rough concept sketch to 200,000 finished units — in under five months. The project involved private mold development, custom emerald-green glass coloring, debossed branding, and a proprietary bar-top closure, all managed through Packafill's end-to-end OEM process. This case study walks through every phase so you can see exactly what it takes to bring a signature spirits bottle to life when no catalog shape will do.
Why This Brand Needed a Bottle That Didn't Exist Yet
Most spirits brands start with stock bottles. And honestly, that's fine for a first production run. But this particular brand — a craft botanical gin distillery based in the Netherlands — had outgrown generic shapes. Their gin was winning awards, their distribution had expanded into duty-free retail across six airports, and the feedback from buyers was consistent: the liquid is premium, but the packaging doesn't say so.
The founder wanted a tall, angular bottle with a faceted shoulder that would catch light on a back-bar shelf. Nothing in any catalog matched. They needed a private mold — and they needed a manufacturer willing to guide them through the process rather than just accept a CAD file and quote a price.
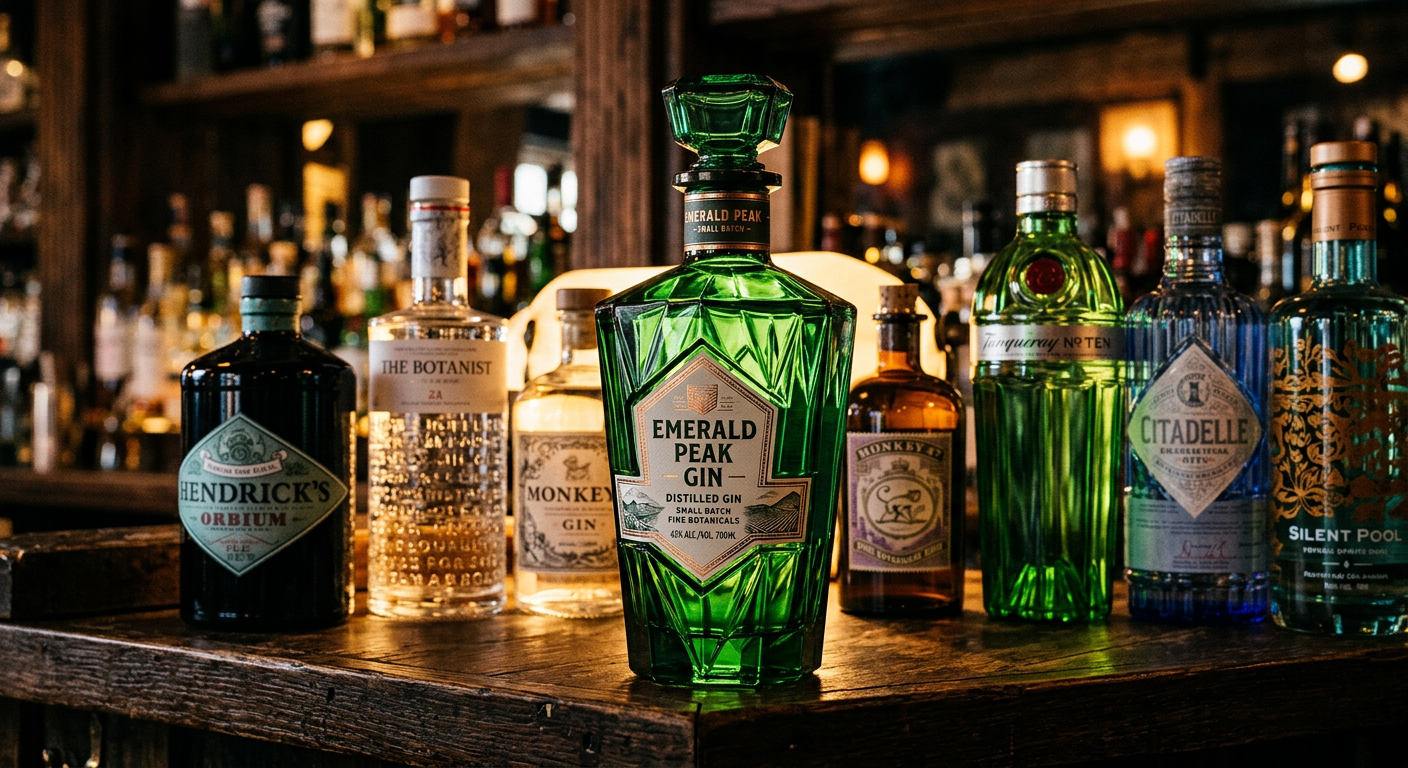
The Real Trigger: Shelf Competition
In duty-free, you're sitting next to Hendrick's, Tanqueray, and Roku. Those brands invest millions in bottle design. A craft brand can't match that budget, but it absolutely can create a distinctive silhouette. That's the calculation this brand made: invest once in a signature bottle, then amortize the mold cost across years of production. The math works out faster than most people think.
Phase 1: Concept and Technical Feasibility Review
The brand sent Packafill a hand-drawn sketch, a mood board of architectural references (they wanted the bottle to echo Art Deco geometry), and a single constraint: it had to hold exactly 700 ml at the fill line with a standard 18.5 mm bar-top cork finish.
What Packafill's Engineering Team Assessed
- Wall thickness uniformity: Angular bottles with sharp facets are harder to produce than round ones. Uneven glass distribution causes stress fractures. Packafill's engineers ran thermal simulations to confirm the angles could be produced reliably on their IS (Individual Section) machines.
- Weight target: The brand wanted a hefty, premium feel — they specified 450 g minimum. Packafill recommended 480 g to ensure the base had enough mass for stability while keeping the shoulder facets thin enough to transmit light.
- Closure compatibility: The 18.5 mm bar-top finish is standard, but the brand wanted a custom wooden cap with a synthetic cork stopper. Packafill confirmed the finish tolerances and connected them with a closure supplier in Portugal.
This feasibility phase took eight working days. It's the phase most brands underestimate — and the one that prevents expensive mistakes later. If a design can't be manufactured consistently at scale, better to know before you commit $5,000 to a mold.
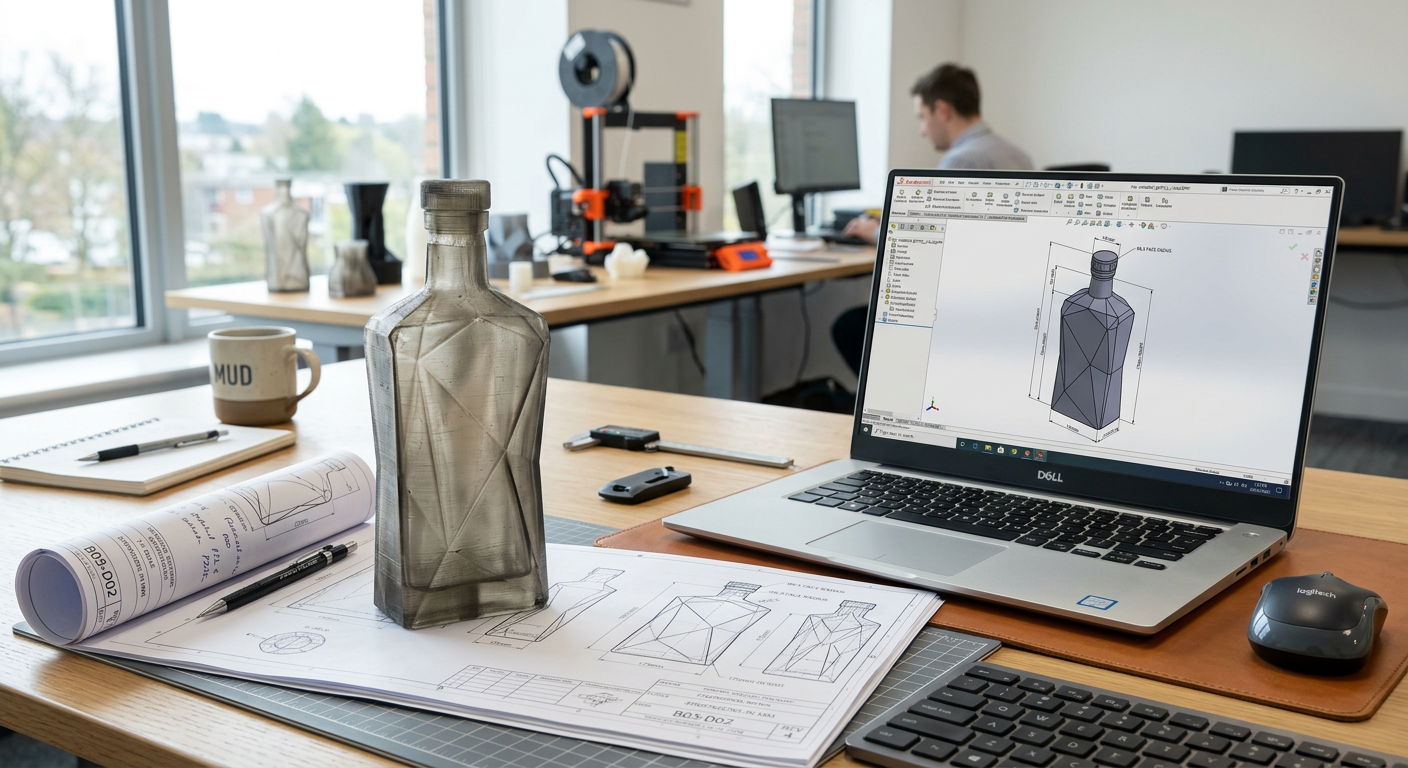
Phase 2: 3D Modeling, Mold Design, and Approval
Here's where the sketch becomes engineering. Packafill's design team converted the hand drawing into a full 3D model using SolidWorks, then generated technical drawings specifying every dimension: body diameter, shoulder angle, heel radius, neck length, and finish thread profile.
The Mold Itself
Private mold development for a spirits bottle typically costs between $3,000 and $8,000 depending on complexity. This particular bottle — with its six faceted panels and debossed logo on the base — fell at the higher end: approximately $6,500 for a full production mold set capable of running on four sections simultaneously.
The brand received 3D renderings, a cross-section view showing glass distribution, and a capacity verification report before approving the mold. Packafill also produced a resin prototype (a 3D-printed model at 1:1 scale) so the brand could physically hold the shape, test it on their filling line mockup, and show it to their retail partners for feedback.
A Common Mistake to Avoid
Some brands skip the resin prototype to save $200–$400 and two weeks. Don't. One brand Packafill worked with — a Turkish raki producer — approved a mold based only on screen renders, then realized the neck was too short for their automated capping machine. The mold had to be modified, adding three weeks and $1,200. A physical prototype would have caught that instantly.
Phase 3: Glass Color Development — Getting Emerald Right
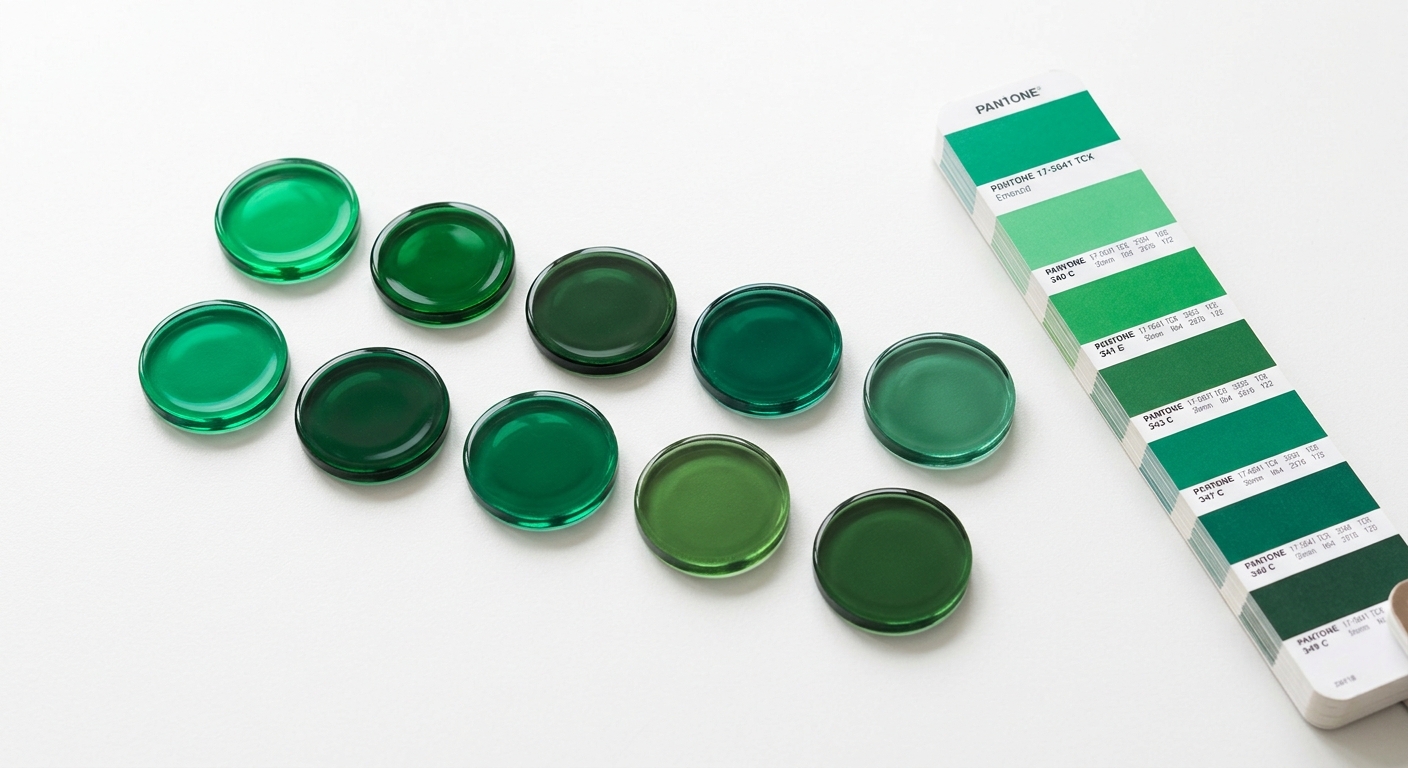
Standard glass colors — flint (clear), amber, cobalt, and dead-leaf green — are always in stock. But this brand wanted a specific emerald green that matched their brand's Pantone 3298 C. That's a custom color batch.
Custom glass coloring involves adjusting the raw material formula — specifically the ratios of iron oxide, chromium oxide, and sometimes cobalt — in the furnace batch. Packafill's color lab produced three test melts at slightly different chromium concentrations. The brand received physical glass samples (small pressed discs) and chose the one that most closely matched their Pantone reference under both daylight and warm retail lighting.
What Affects Color Consistency
Glass color shifts slightly with wall thickness. A thicker base will appear darker than a thinner shoulder panel, even from the same batch. Packafill accounted for this by calibrating the target color to the thinnest section of the bottle, ensuring the overall impression stayed true to the brand's intent. This is a detail that separates experienced glass manufacturers from those who simply match a swatch and hope for the best.
Phase 4: First Production Samples and Quality Validation
Once the mold was machined and the glass color approved, Packafill ran a pilot batch of 500 bottles. These weren't decorative showpieces — they were production-representative samples pulled directly from the IS machine under normal operating conditions.
What Got Tested
- Dimensional accuracy: Every critical dimension checked against the technical drawing. Neck finish measured with go/no-go gauges to confirm closure fit.
- Thermal shock resistance: Bottles cycled between 42°C water and 5°C water to simulate shipping container temperature swings. Zero failures in 50-bottle sample.
- Internal pressure test: Though spirits bottles don't face carbonation pressure, the brand planned a sparkling gin variant. Packafill tested to 4 bar — well above the 2.5 bar typical for light carbonation.
- Drop test: Filled bottles dropped from 30 cm onto a steel plate. The 480 g weight spec paid off — no breakage in 20 trials.
- Label adhesion zone: The faceted panels created slight ridges. Packafill confirmed that both pressure-sensitive and wet-glue labels adhered properly across the flat panel areas.
The brand received 20 sample bottles by air freight for their own testing — filling line trials, closure torque checks, and a shelf display mockup for their sales team. Approval came in four days.
Phase 5: Surface Decoration — Debossing, Frosting, and Screen Printing
The bottle design included three decorative elements, each applied at a different stage:
1. Debossed Base Logo (Built into the Mold)
The distillery's logo was engraved into the mold's base plate, producing a raised glass relief on every bottle. This is the most durable form of branding — it can't wear off, peel, or fade. It's also the cheapest per-unit decoration because there's zero additional processing after the bottle exits the annealing lehr.
2. Selective Frosting on Two Panels
Two of the six faceted panels received acid-etched frosting, creating a matte texture that contrasted with the glossy panels. This gave the bottle a tactile quality — you could feel the brand identity. Frosting costs roughly $0.03–$0.06 per bottle depending on area coverage.
3. Single-Color Screen Printing
The brand name and legal text (ABV, volume, origin) were screen-printed in metallic gold on the front panel. Packafill uses ceramic ink fired at 600°C, which fuses permanently with the glass surface. Unlike organic inks, ceramic printing survives ice buckets, condensation, and bar-rail abuse without smudging.
If you're exploring wine bottle shapes and their decoration options, many of these same techniques — frosting, debossing, screen printing — apply equally to wine and spirits packaging.
Stock Bottles vs. Private Mold: When Each Makes Sense
Not every brand needs a private mold. In fact, for many startups, it's the wrong move. Here's the honest breakdown.
If you're launching a new spirit with uncertain market reception and your first order is 5,000–10,000 bottles, choose a stock shape and differentiate through decoration — a striking label, a unique closure, or a full-bottle sleeve. Packafill carries over 300 stock shapes including classic Bordeaux-style, flask, and apothecary profiles. For instance, brands exploring red wine bottle formats often find that a well-decorated stock shape delivers 90% of the visual impact at a fraction of the cost.
But if you're ordering 20,000+ units per run, selling into competitive retail channels, and building a brand meant to last decades, a private mold is the smarter long-term investment. The mold fee is a one-time cost. Amortized across 200,000 bottles, that $6,500 mold adds just $0.033 per unit — essentially invisible in your COGS.
The comparison table above summarizes the key trade-offs. The Dutch gin brand was firmly in private-mold territory: established sales, growing distribution, and a clear need for shelf differentiation.
Production Scale-Up: From 500 Samples to 200,000 Units
With samples approved, Packafill scheduled the full production run. Here's what 200,000 custom spirits bottles looks like in practice:
- Production time: 12 days on a dedicated IS machine line running the four-section mold.
- Annealing: Every bottle passed through a 45-meter lehr at a controlled cooling rate to relieve internal stress. This is non-negotiable for spirits bottles that will be stored in cold environments.
- Decoration: Frosting and screen printing added five additional production days.
- Inspection: Automated camera inspection at line speed checked for inclusions, bubbles, dimensional defects, and print alignment. Packafill's defect rate target: under 0.3%.
- Packing: Bottles packed in individual cell dividers within export cartons, palletized, and stretch-wrapped. Total: 8 x 40-foot containers.
Shipping and Logistics
Packafill handled FOB Qingdao port. The brand's freight forwarder arranged ocean shipping to Rotterdam — a 28-day transit. Total project timeline from first sketch to delivery at the brand's Dutch warehouse: 4 months and 22 days.
For brands shipping smaller volumes — say, a test batch of mini bottles for sampling or gifting — Packafill also supports split shipments and LCL (less-than-container-load) logistics.
Lessons Learned: What This Brand Would Do Differently
After the project, the brand's founder shared three insights that are worth passing along to anyone considering a similar path:
1. Start the Closure Conversation Earlier
The wooden bar-top cap required coordination with a third-party supplier in Portugal. Lead times for custom closures can be 6–8 weeks, and the brand nearly created a bottleneck because they finalized the cap design three weeks after the bottle mold was approved. Packafill now recommends starting closure development in parallel with mold design — not sequentially.
2. Order 10% Extra for Breakage Buffer
Glass breakage during ocean freight averages 0.5–1.5% even with proper packing. The brand ordered exactly 200,000 units and ended up 1,800 bottles short after transit damage. A 10% buffer on the first order — especially when the mold is already set up — costs far less than a second production run to fill the gap.
3. Get Retail Buyer Feedback on the Prototype
The brand showed the resin prototype to their three largest duty-free buyers before committing to the mold. Two buyers increased their initial order commitments based on the prototype alone. That pre-validation essentially de-risked the entire mold investment.
Ready to Create Your Own Signature Bottle?
The Dutch gin brand's story isn't unusual at Packafill — it's the kind of project our OEM team handles regularly across spirits, juice, cosmetics, and pharmaceutical packaging. What makes each project unique is the brand's vision; what makes it successful is the engineering rigor behind the glass.
If you have a concept — even a rough sketch on a napkin — Packafill's team can assess feasibility, estimate costs, and map out a realistic timeline. With 300+ existing molds, automated lines producing up to one million bottles per day, and 15+ years of export experience, we're built for exactly this kind of collaboration.
Reach out to Packafill's project team with your concept, target volume, and timeline. We'll get back to you within 48 hours with a preliminary assessment — no commitment, no cost. Your signature bottle is closer than you think.